The HG Companion allows you to use many of the desktop's report writing tools on a mobile device such as a phone or tablet. By using the Companion, you are allowed the freedom of navigating through the home unencumbered while still being able to write comments, take photos of deficiencies, and make inspection checks. This article will explore editing a report on the HG Companion and the features that you have at your disposal.
First Steps
When opening the HomeGauge Companion for the first time, it's important to sign in and download templates.
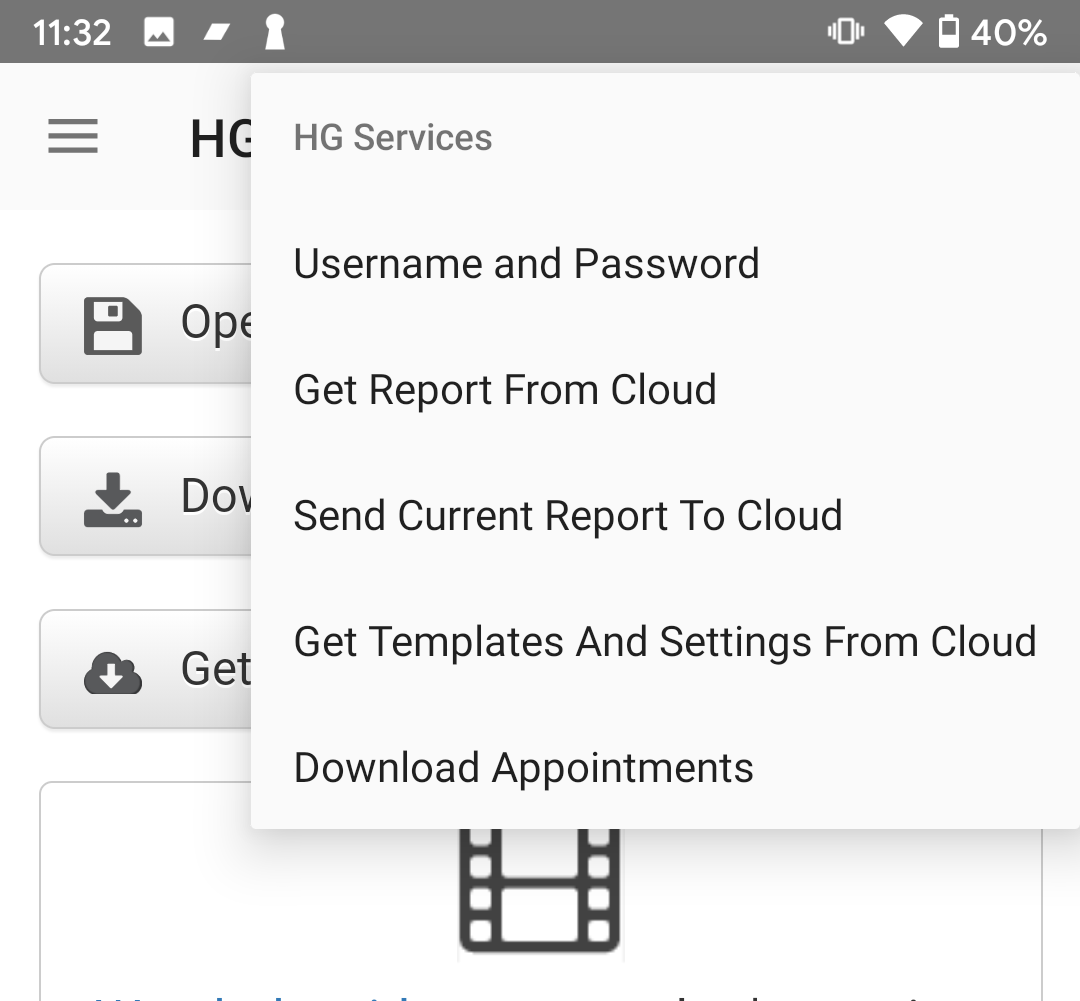
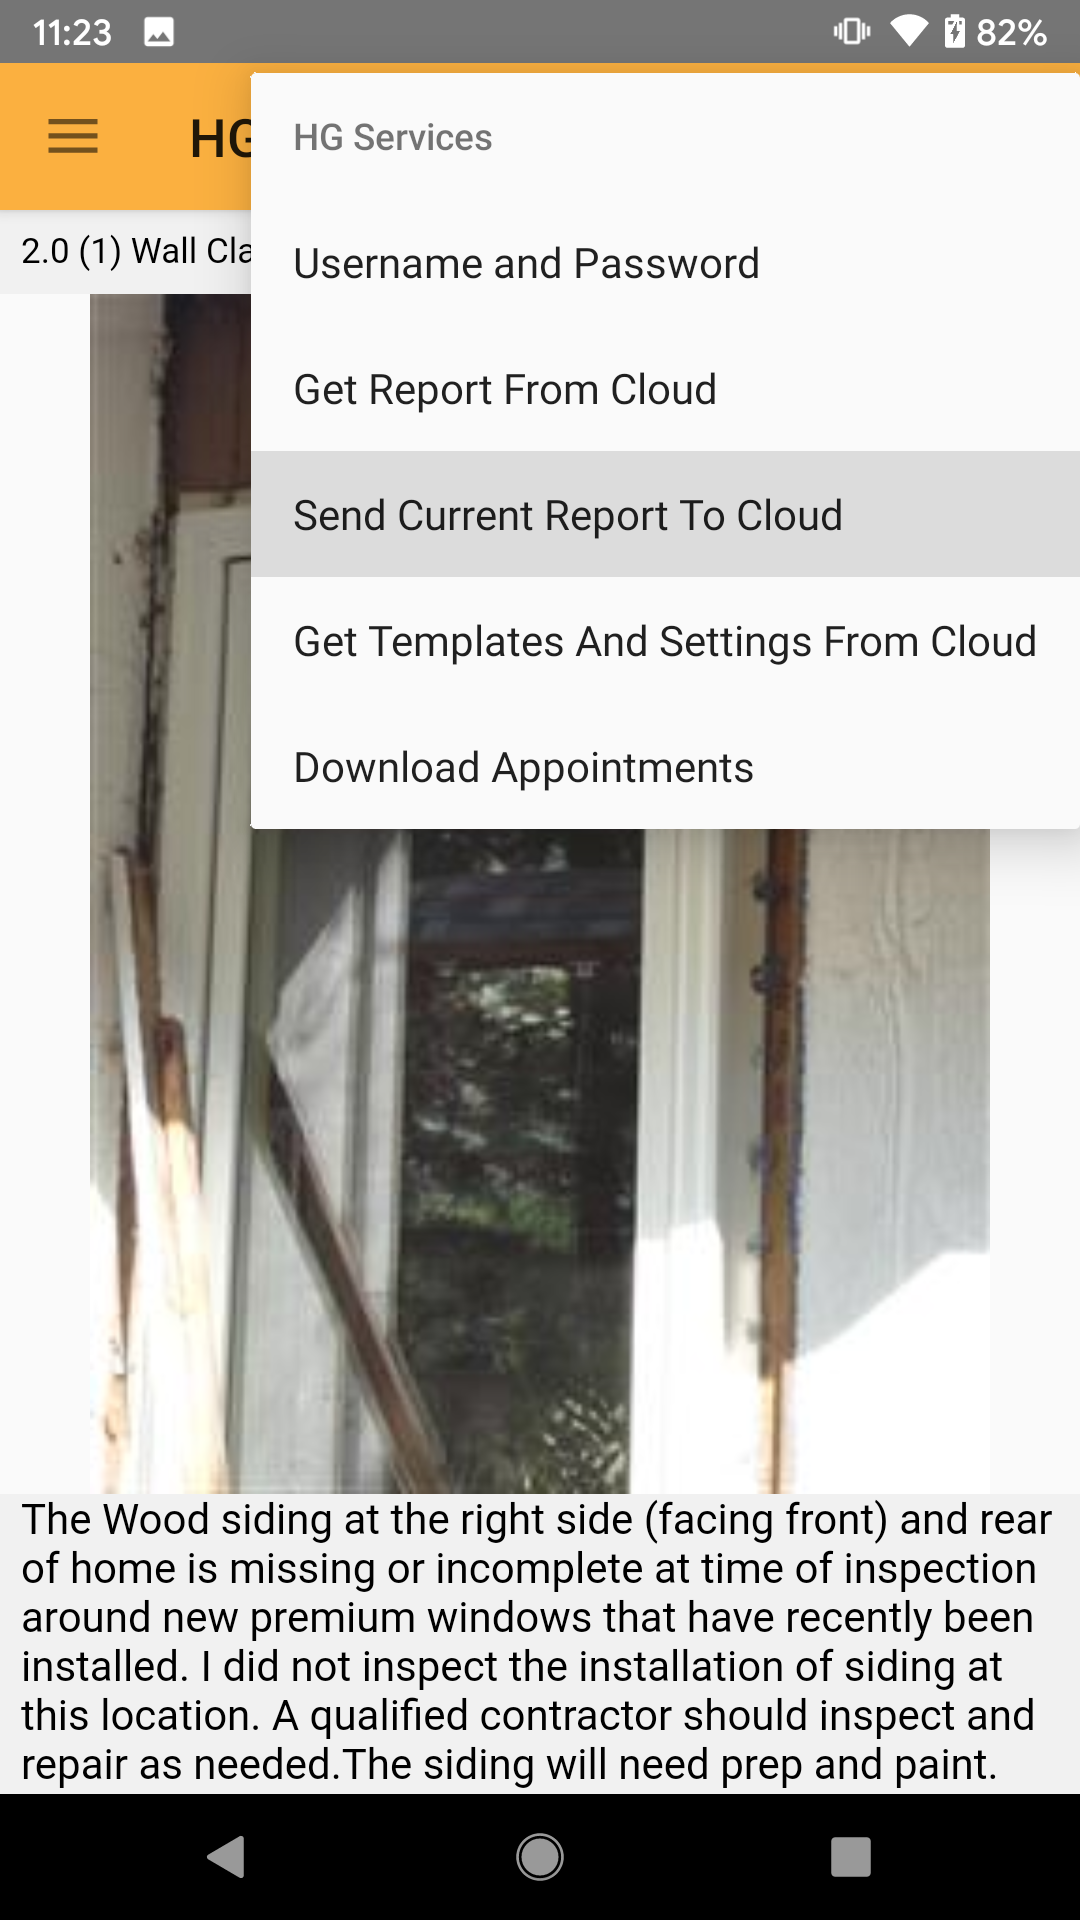
- Click the menu button in the top right (symbolized by 3 dots) and then click HG Services.
- Click on Username and Password to enter your login credentials. After you are signed in, you can use the other options to get cloud templates, appointments or reports.
Basic Interface
When you first open the HG Companion, you will be greeted with the below image:
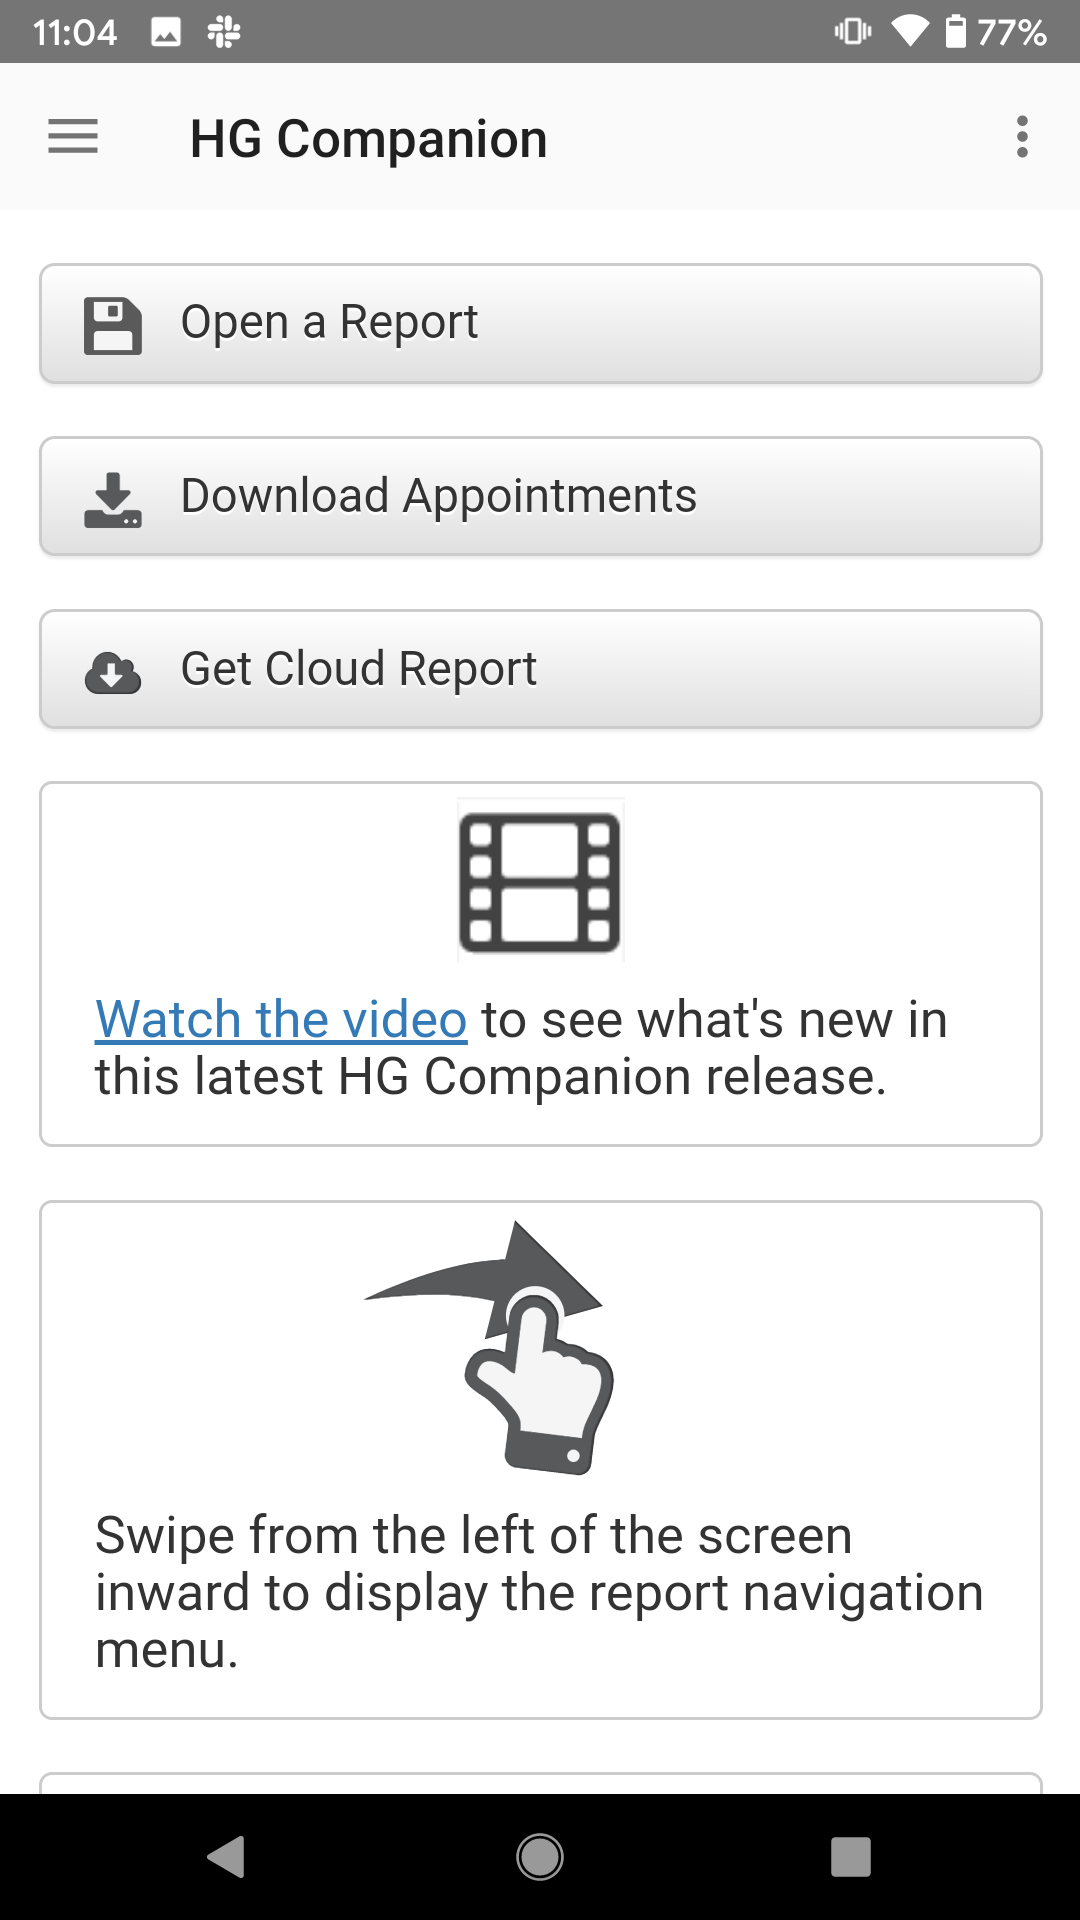
Click the buttons on the home screen if you want to open a report, download an appointment or get a cloud report.
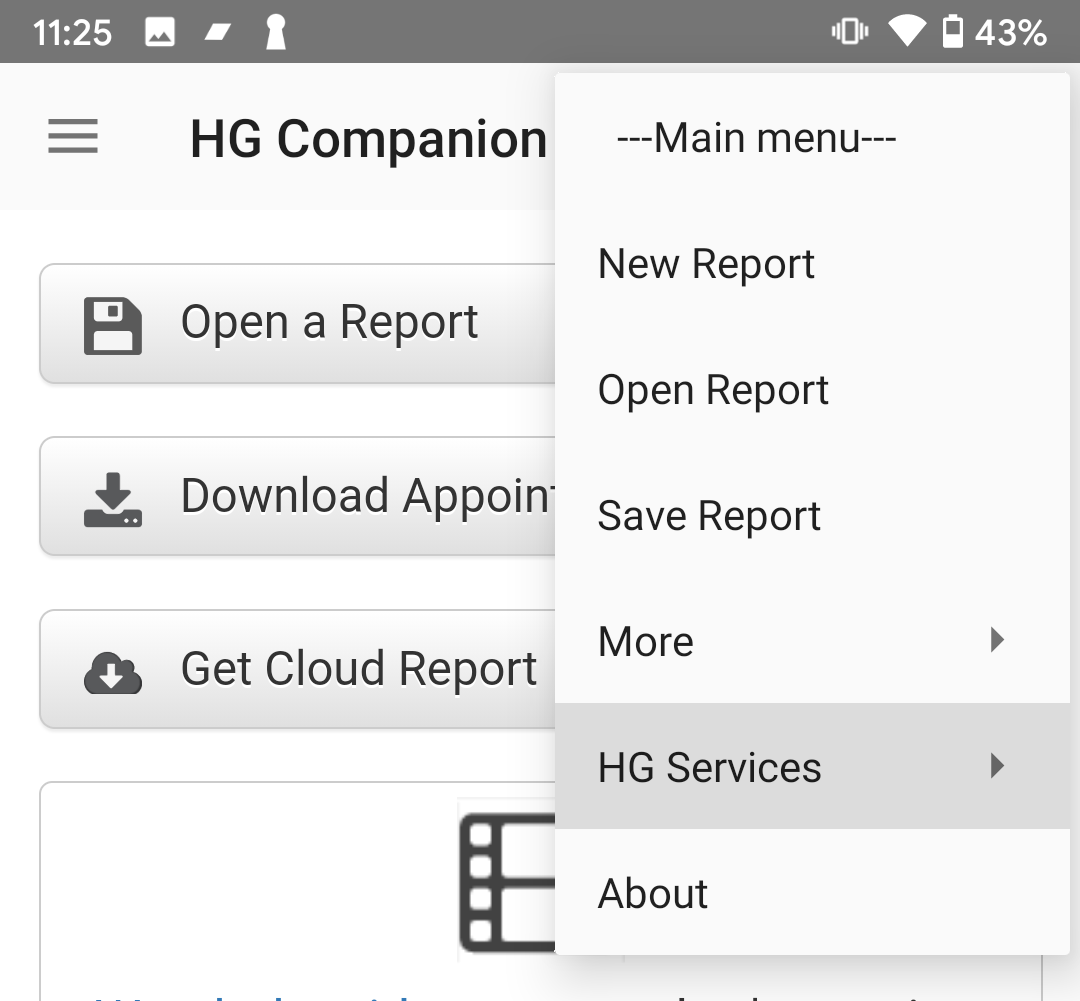
Clicking the button in the top right, symbolized by three dots, will open your main menu which contain your system options.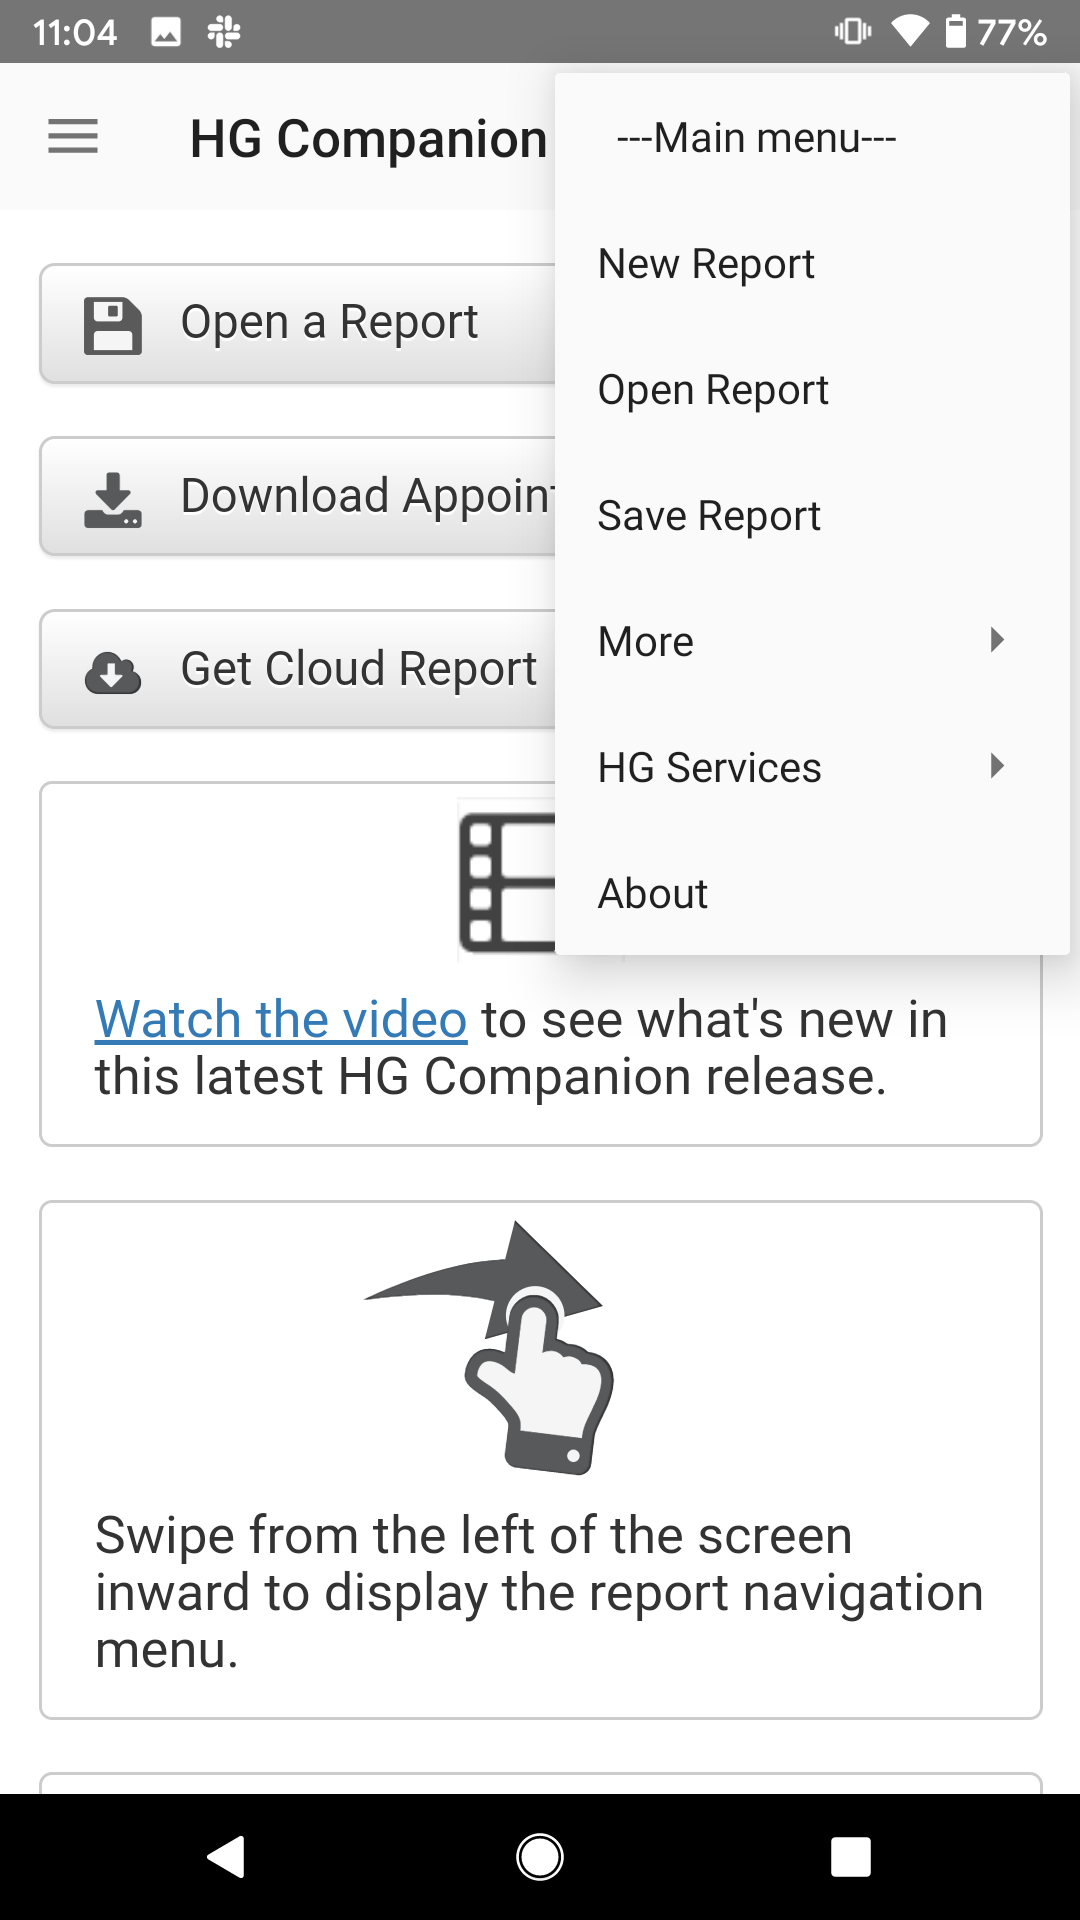
Clicking the button in the top left, symbolized by three horizontal lines (also known as the hamburger menu button), will open your navigation panel.
Additionally, you may use your finger and swipe from the left to open the navigation menu
Starting a Report
You can either start a report from scratch, from a downloaded appointment, or from a cloud report.
Start a Report From Scratch
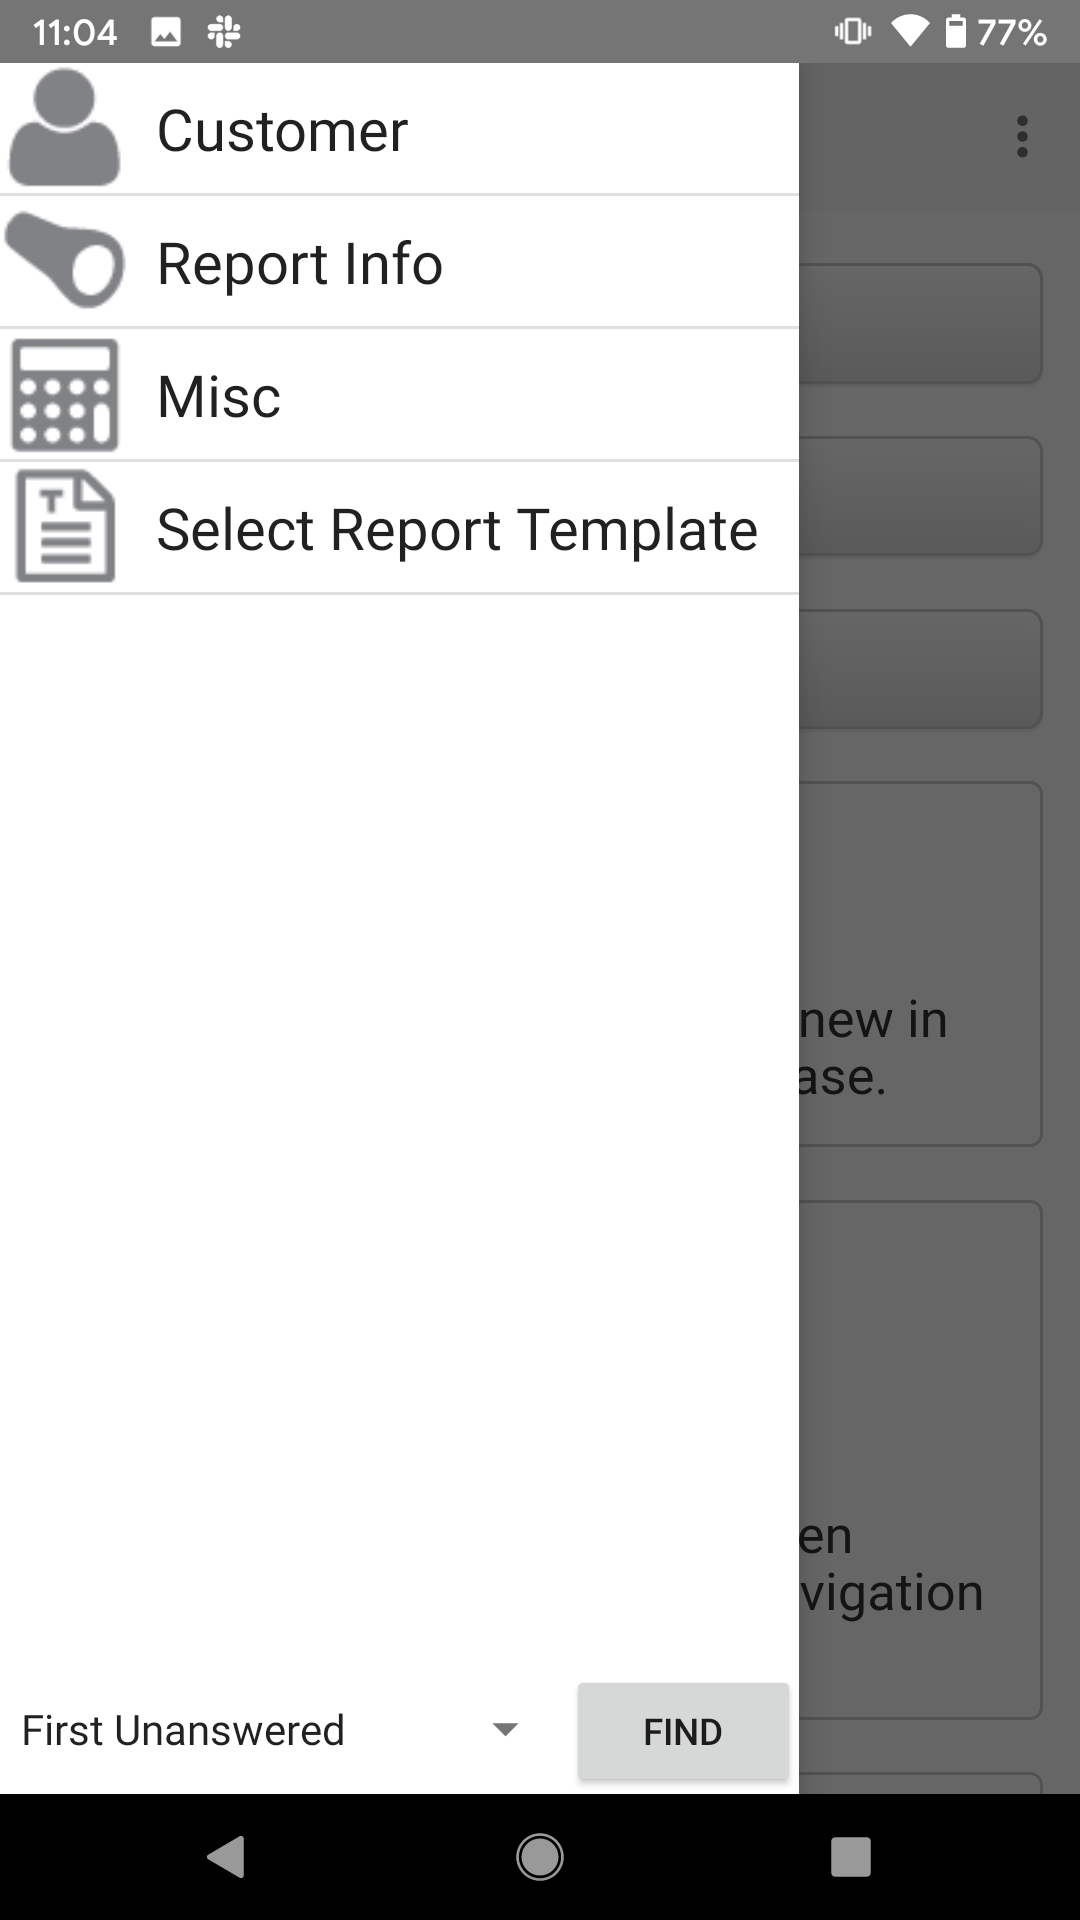
- Access the Navigation Menu by clicking on the hamburger button in the top left.
- Click into sections for Customer, Report Info, Misc (if appropriate) and fill out the info.
- Click Select Report Template and select a template to start.
Start a Report From a Downloaded Appointment
- Access the Main Menu by clicking on the button in the top right.
- Click HG Services > Download Appointments.
- Select the appointment you would like to download and click Download.
- Access the Main Menu again and click Open Report.
- Select the appointment you previously downloaded and click Open.
- Select a template and begin the inspection.
Start a Report From a Cloud Report
- Access the Main Menu by clicking on the button in the top right.
- Click HG Services > Get Report From Cloud.
- Select the report you would like to download and click Download.
- Access the Main Menu again and click Open Report.
- Select the report you previously downloaded and click Open.
- Select a template if necessary, or continue the inspection from where left off.
Navigating Through a Report
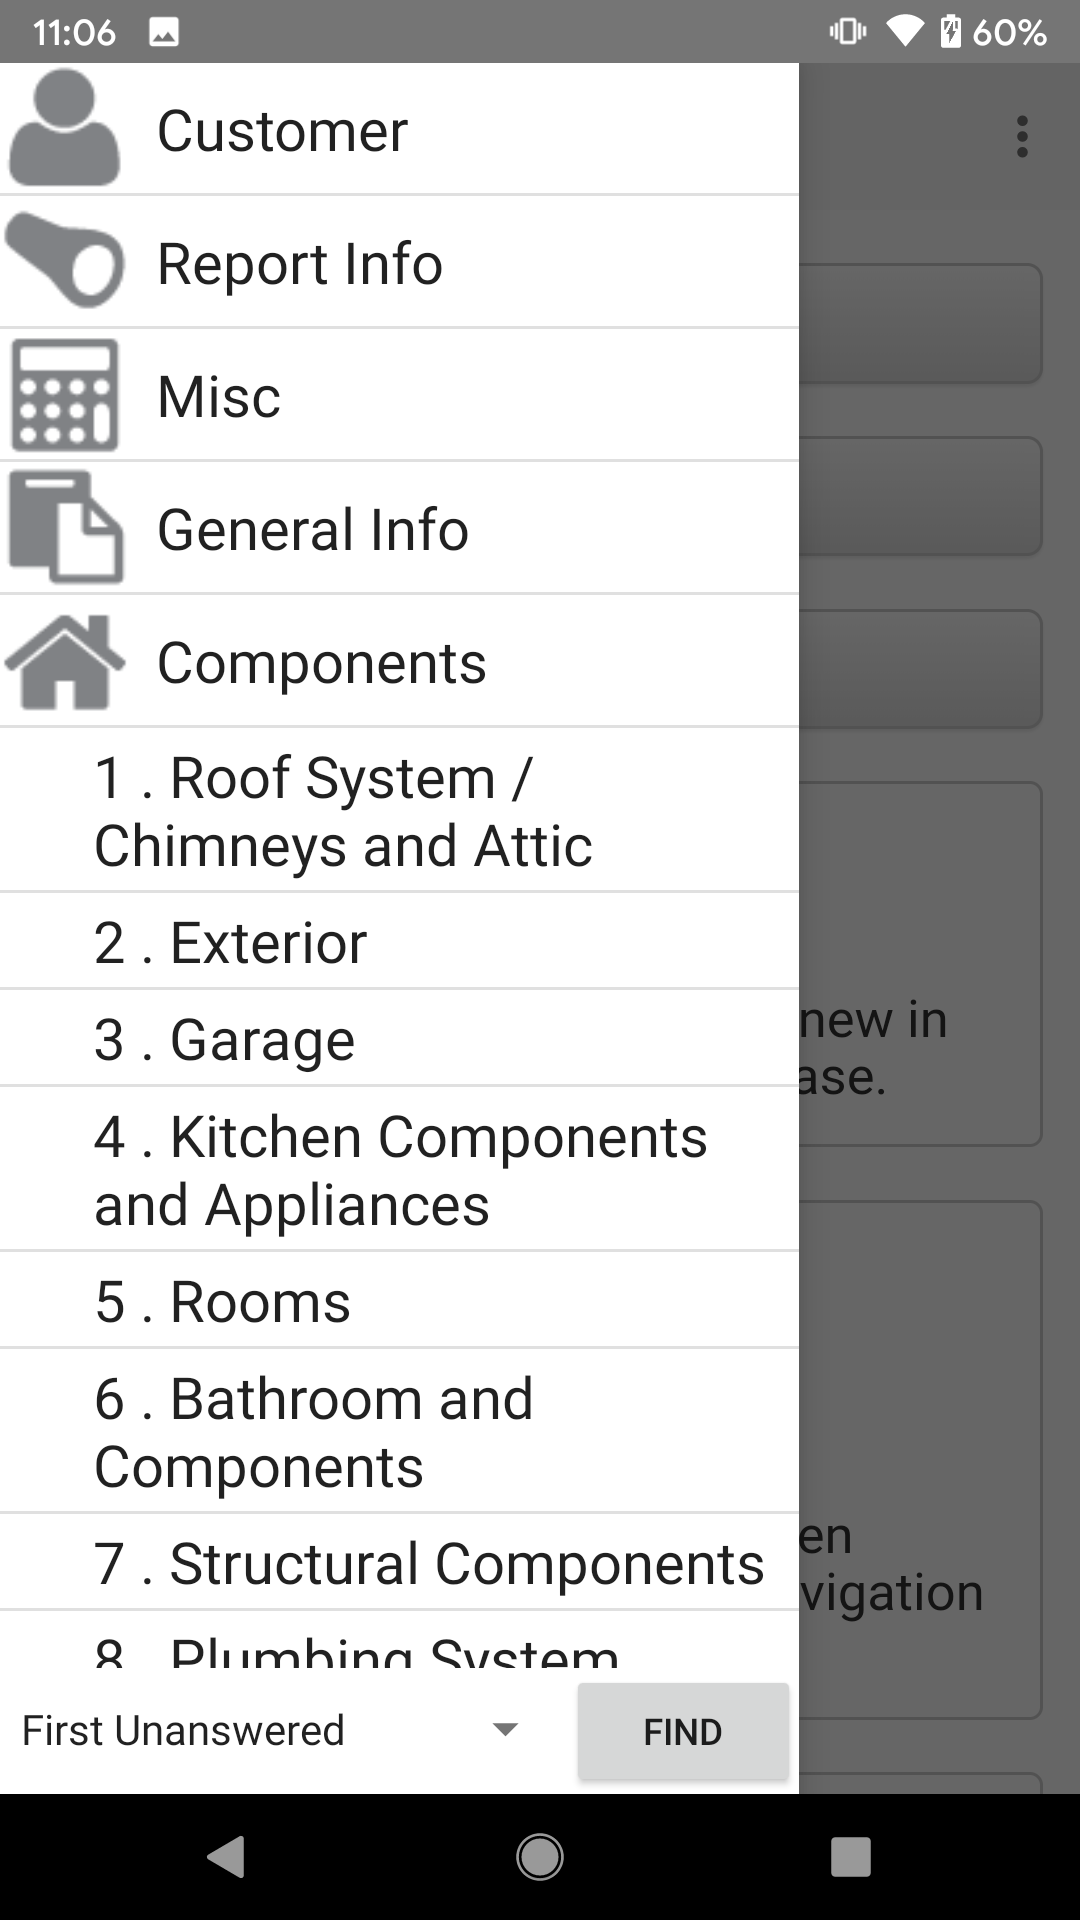
In order to navigate through a report, click the hamburger menu button in the top left. Scroll through the list and click an item you wish to inspect. Access the Navigation Menu when you wish to enter a new item.
Making Inspection Checks
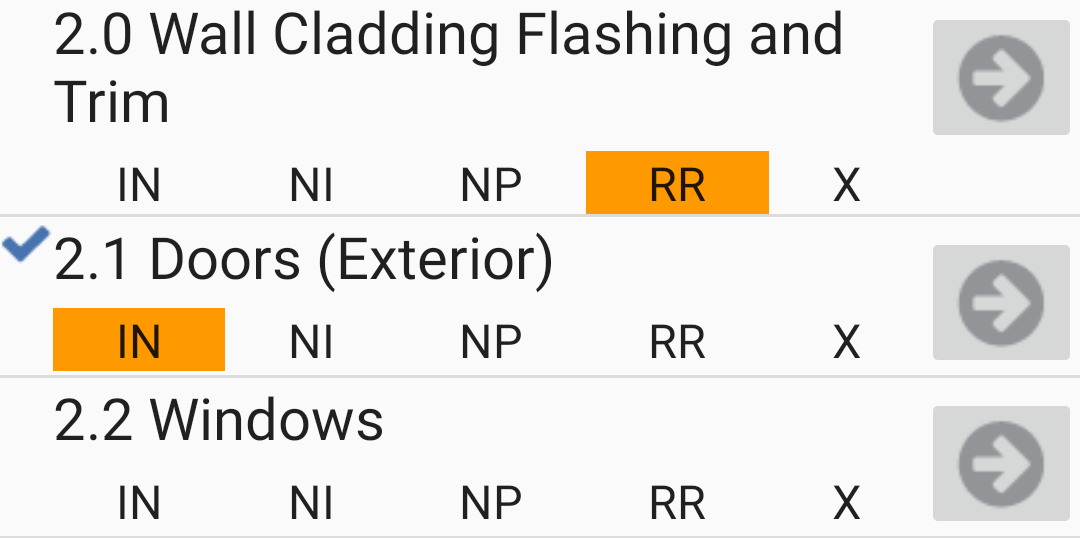
When inside an component section, you will find your column headers underneath each inspection item.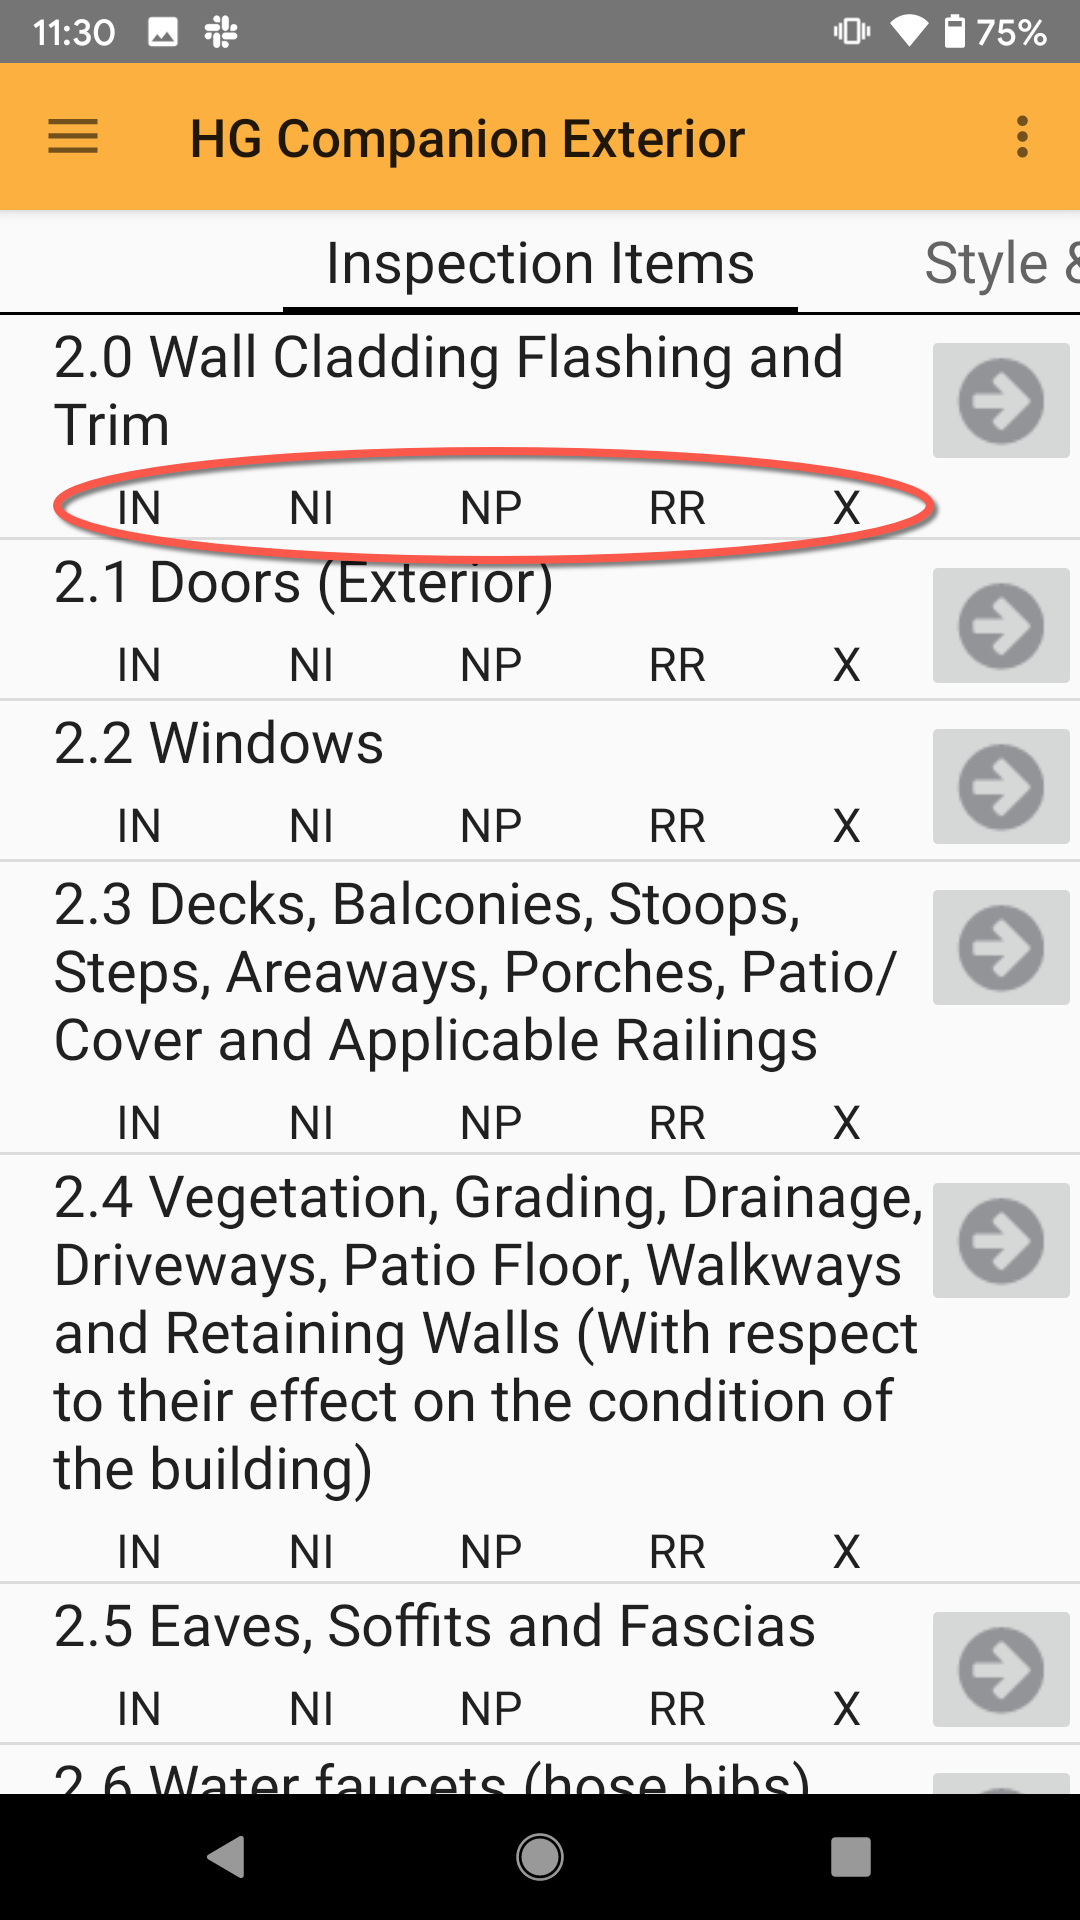
Click on each one to make an inspection check. The column header will be shown highlighted with an orange rectangle.
Adding Comments
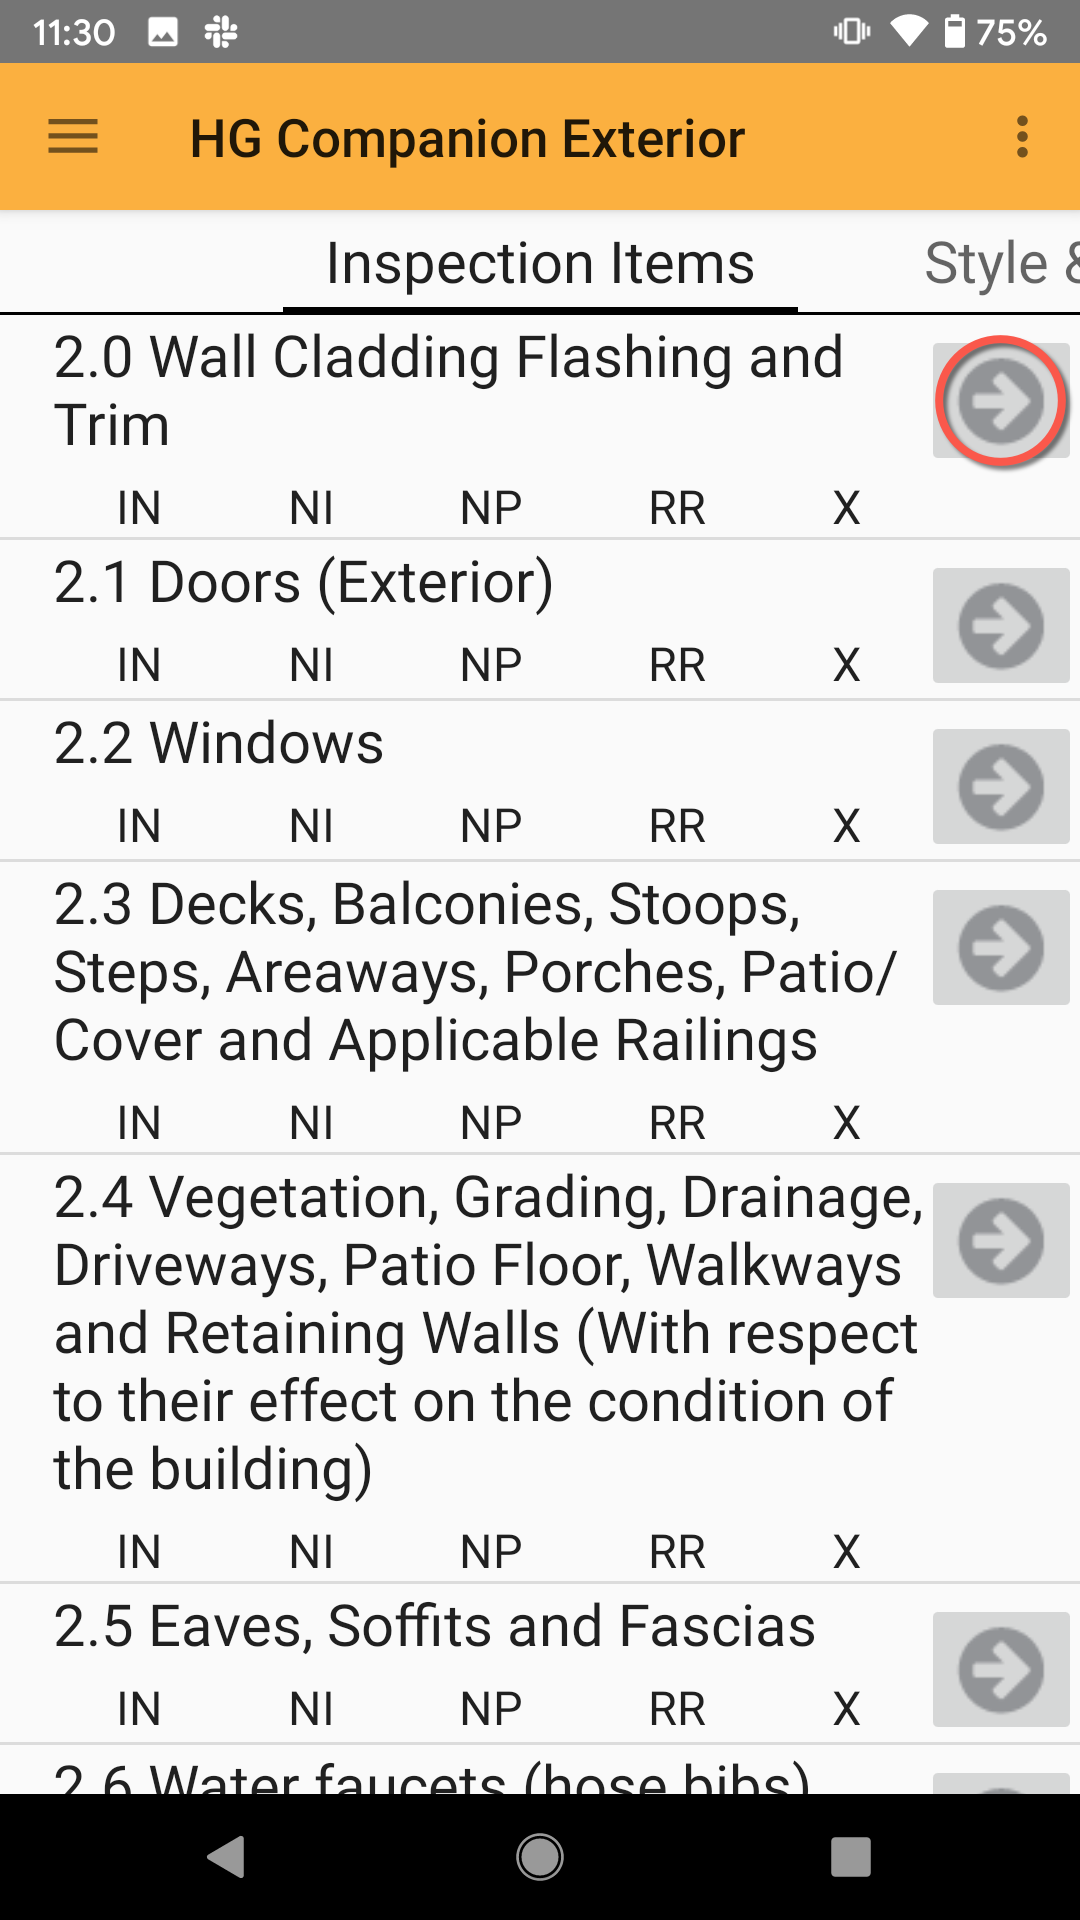
In order to add comments, click the arrow next to an inspection item.
Click anywhere in the Empty Comment box to add, edit or itemize a comment.
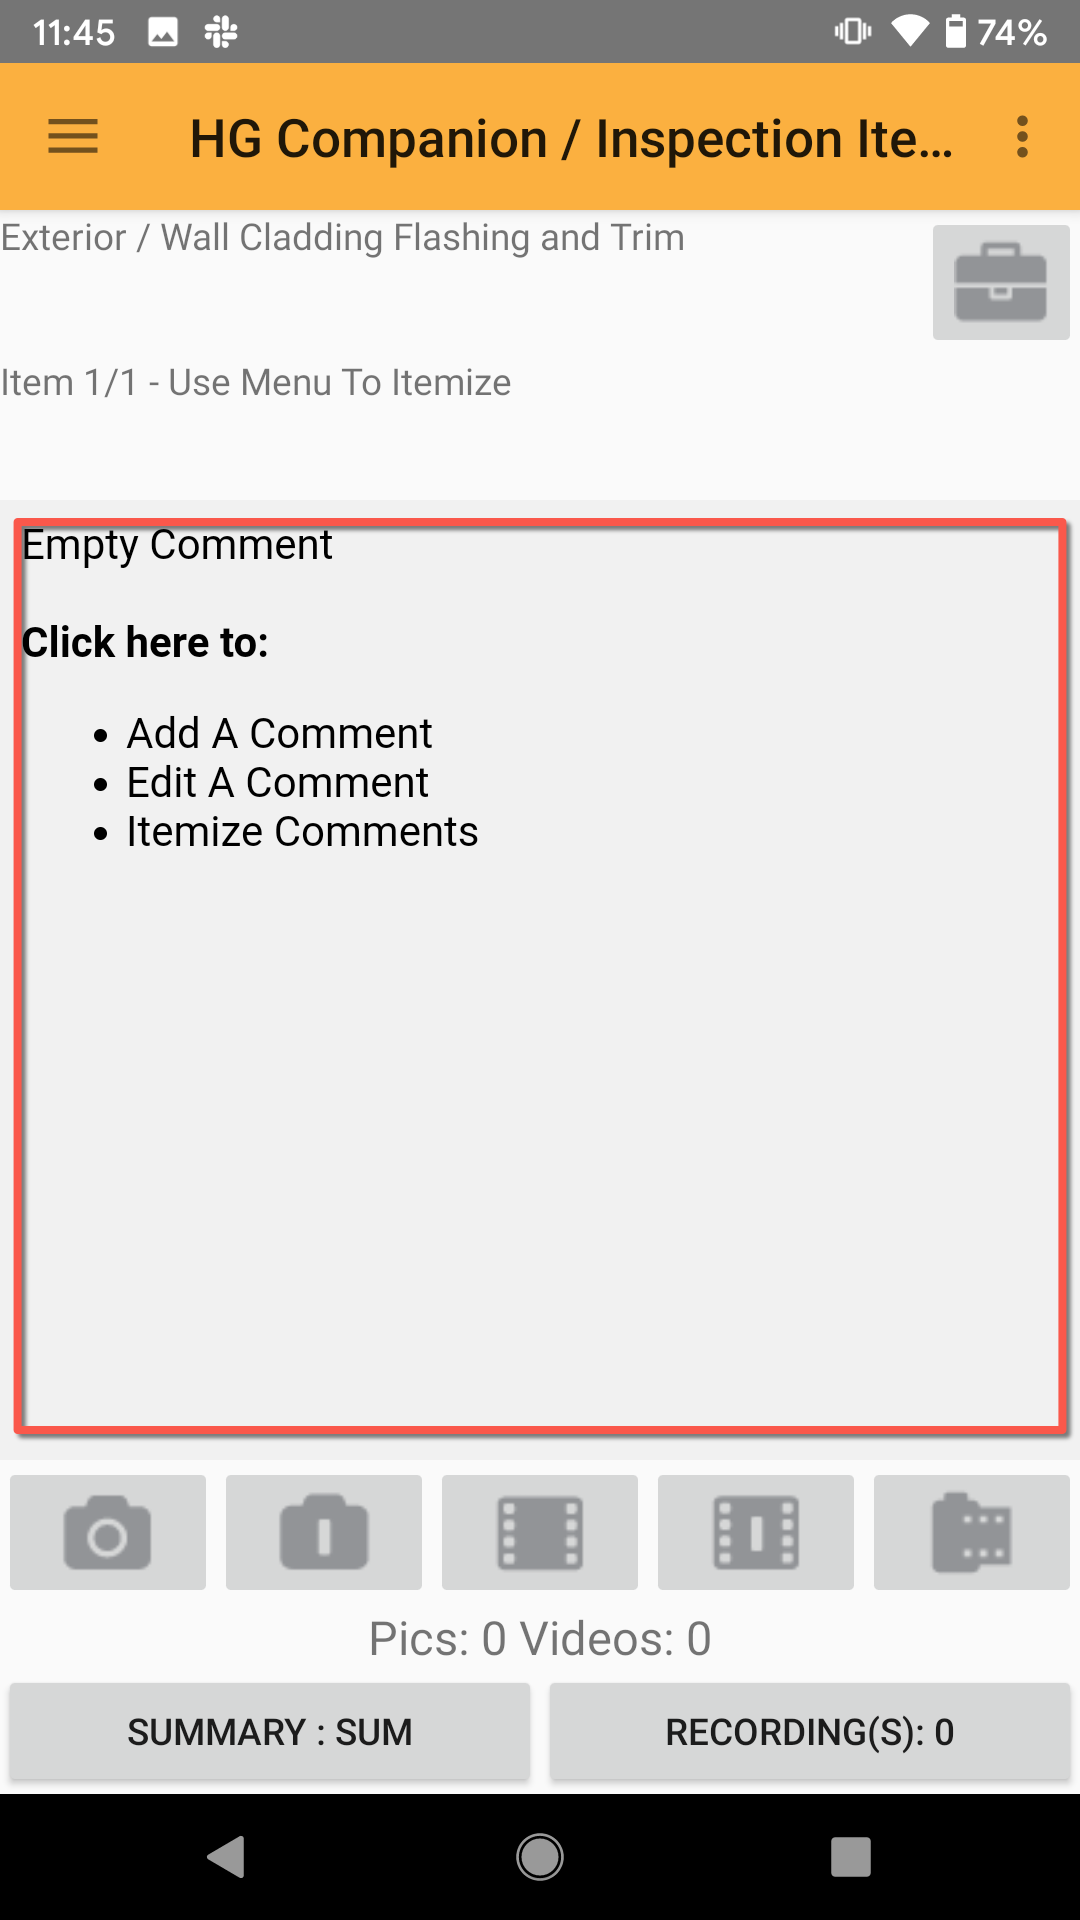
A box will appear containing different actions available.

Some of the notable options include:
- Add Autocomment Here - Add an autocomment from your local list.
- Edit This Comment - Type in a comment using your device's keyboard.
- Edit Comment and Speak - Engages your device's text-to-speech mechanic, allowing you to talk text into the comment.
- Add Itemized Item - Add an itemization to the inspection item.
- Insert PASS Stamp/Insert Fail Stamp - Useful for re-inspections to quickly mark as pass or fail.
- Erase Comment - Erases all text to start over.
Scroll through this list and familiarize yourself with the available options.
Check Your Answers
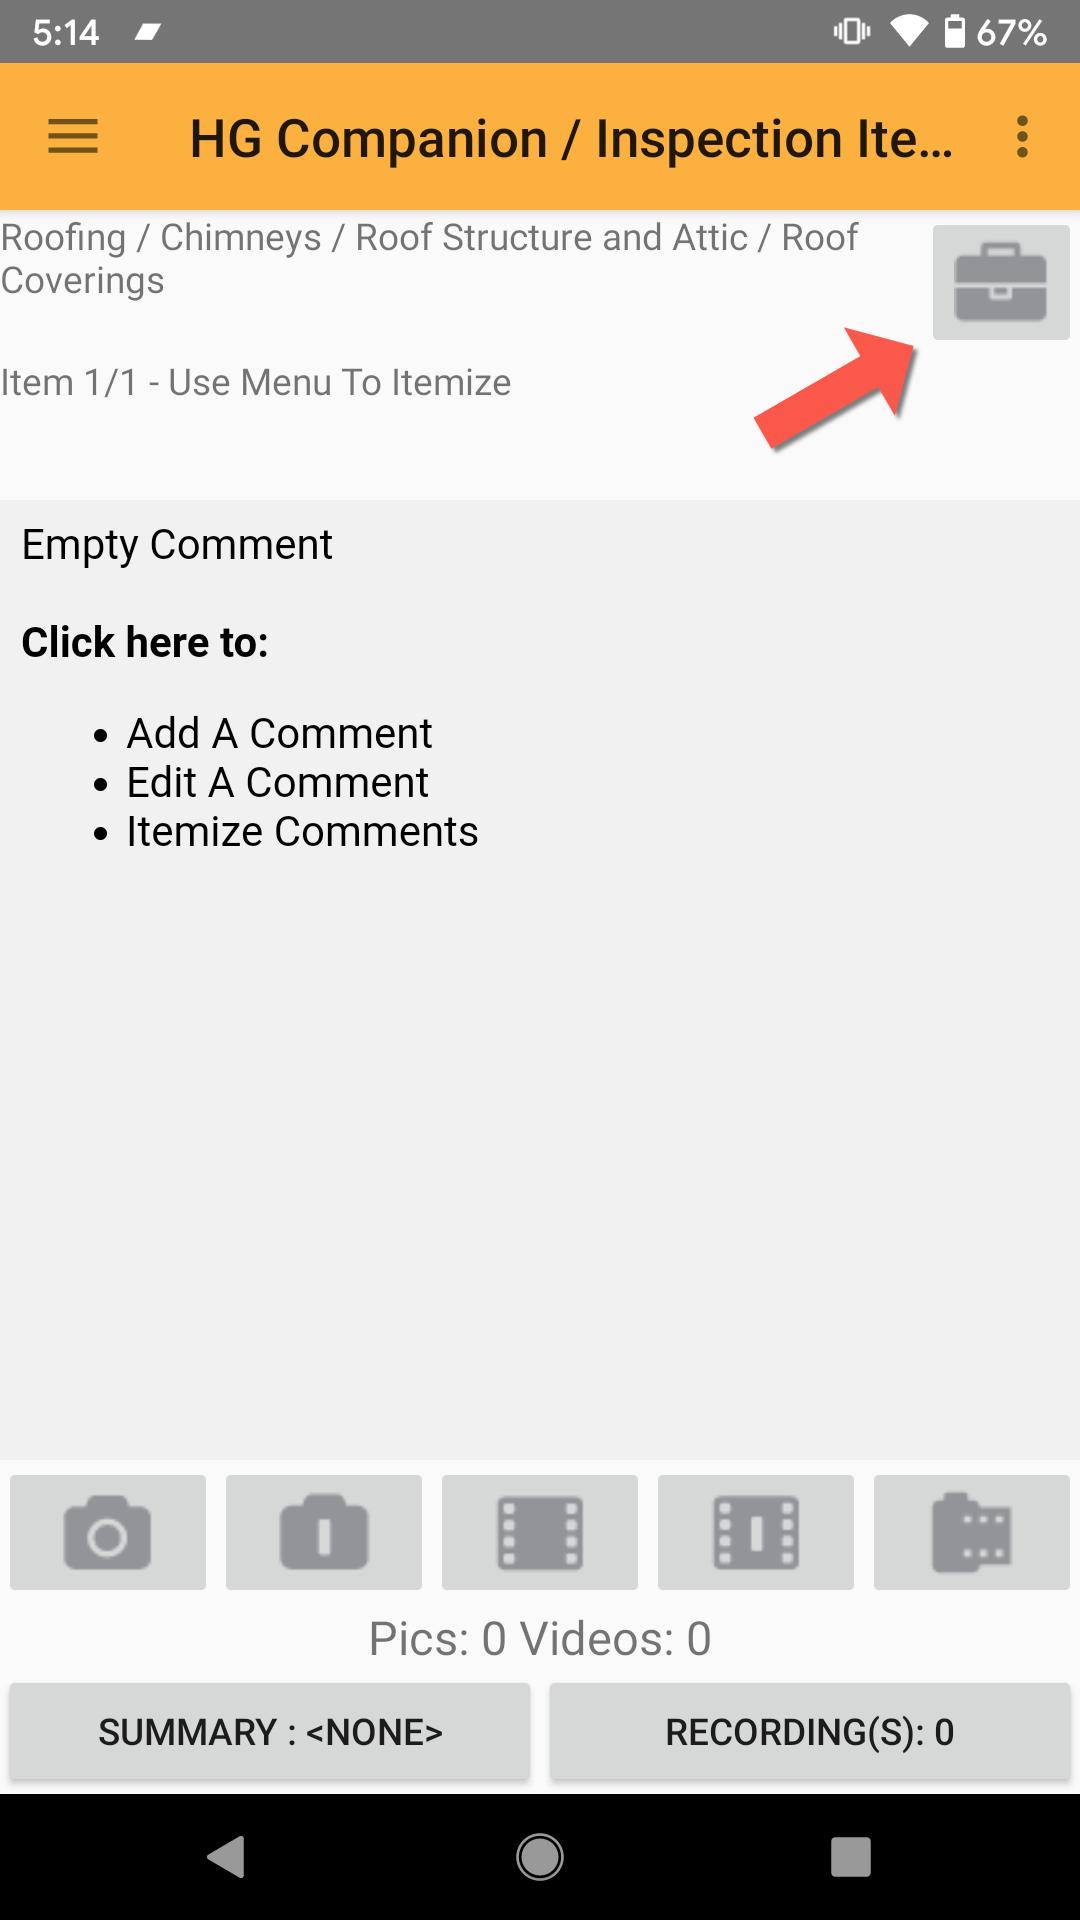
Above the comment box you will find the below icon. You can click that to access the CYA feature for the current inspection item you are in. The CYA will provide a list of things to look out for involving that item and is great for new inspectors.
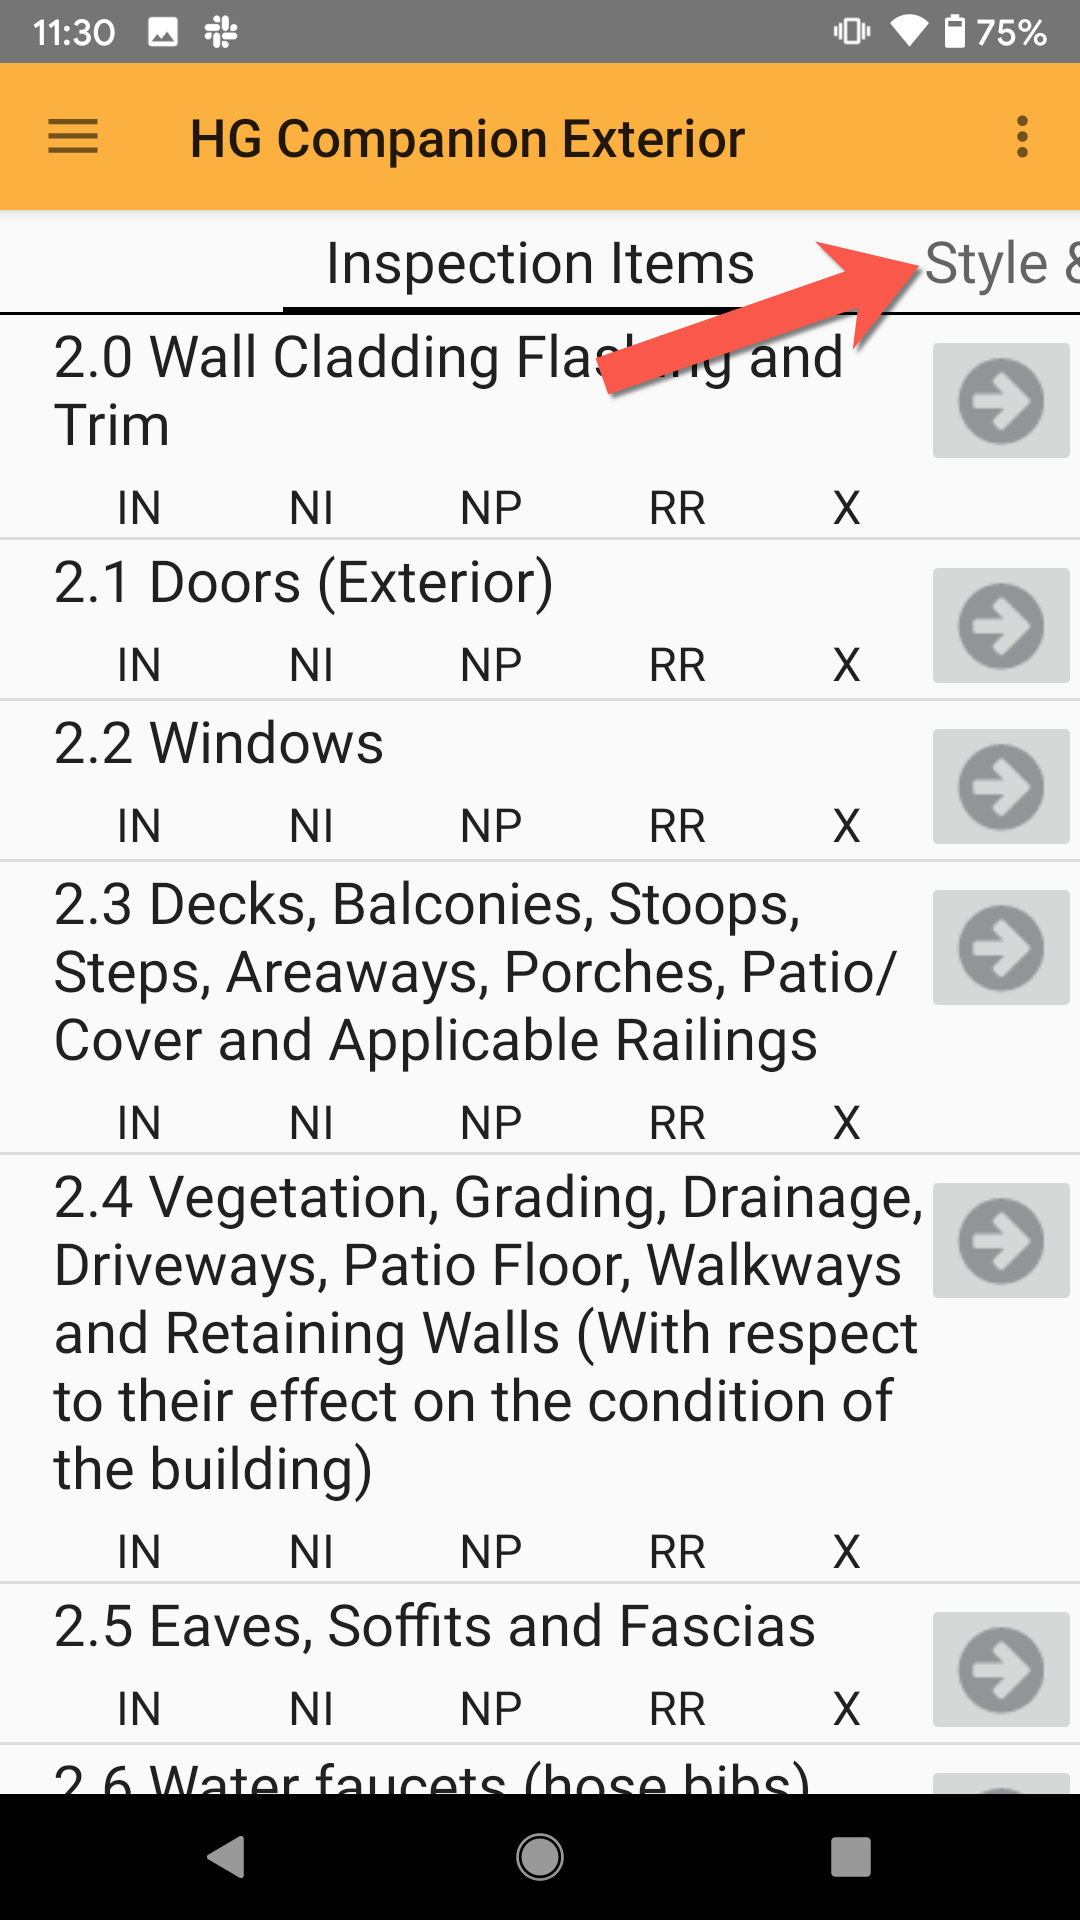
Styles and Materials
To get to the Styles and Materials for an inspection item, simply click the header at the top of the screen, and the view will change.
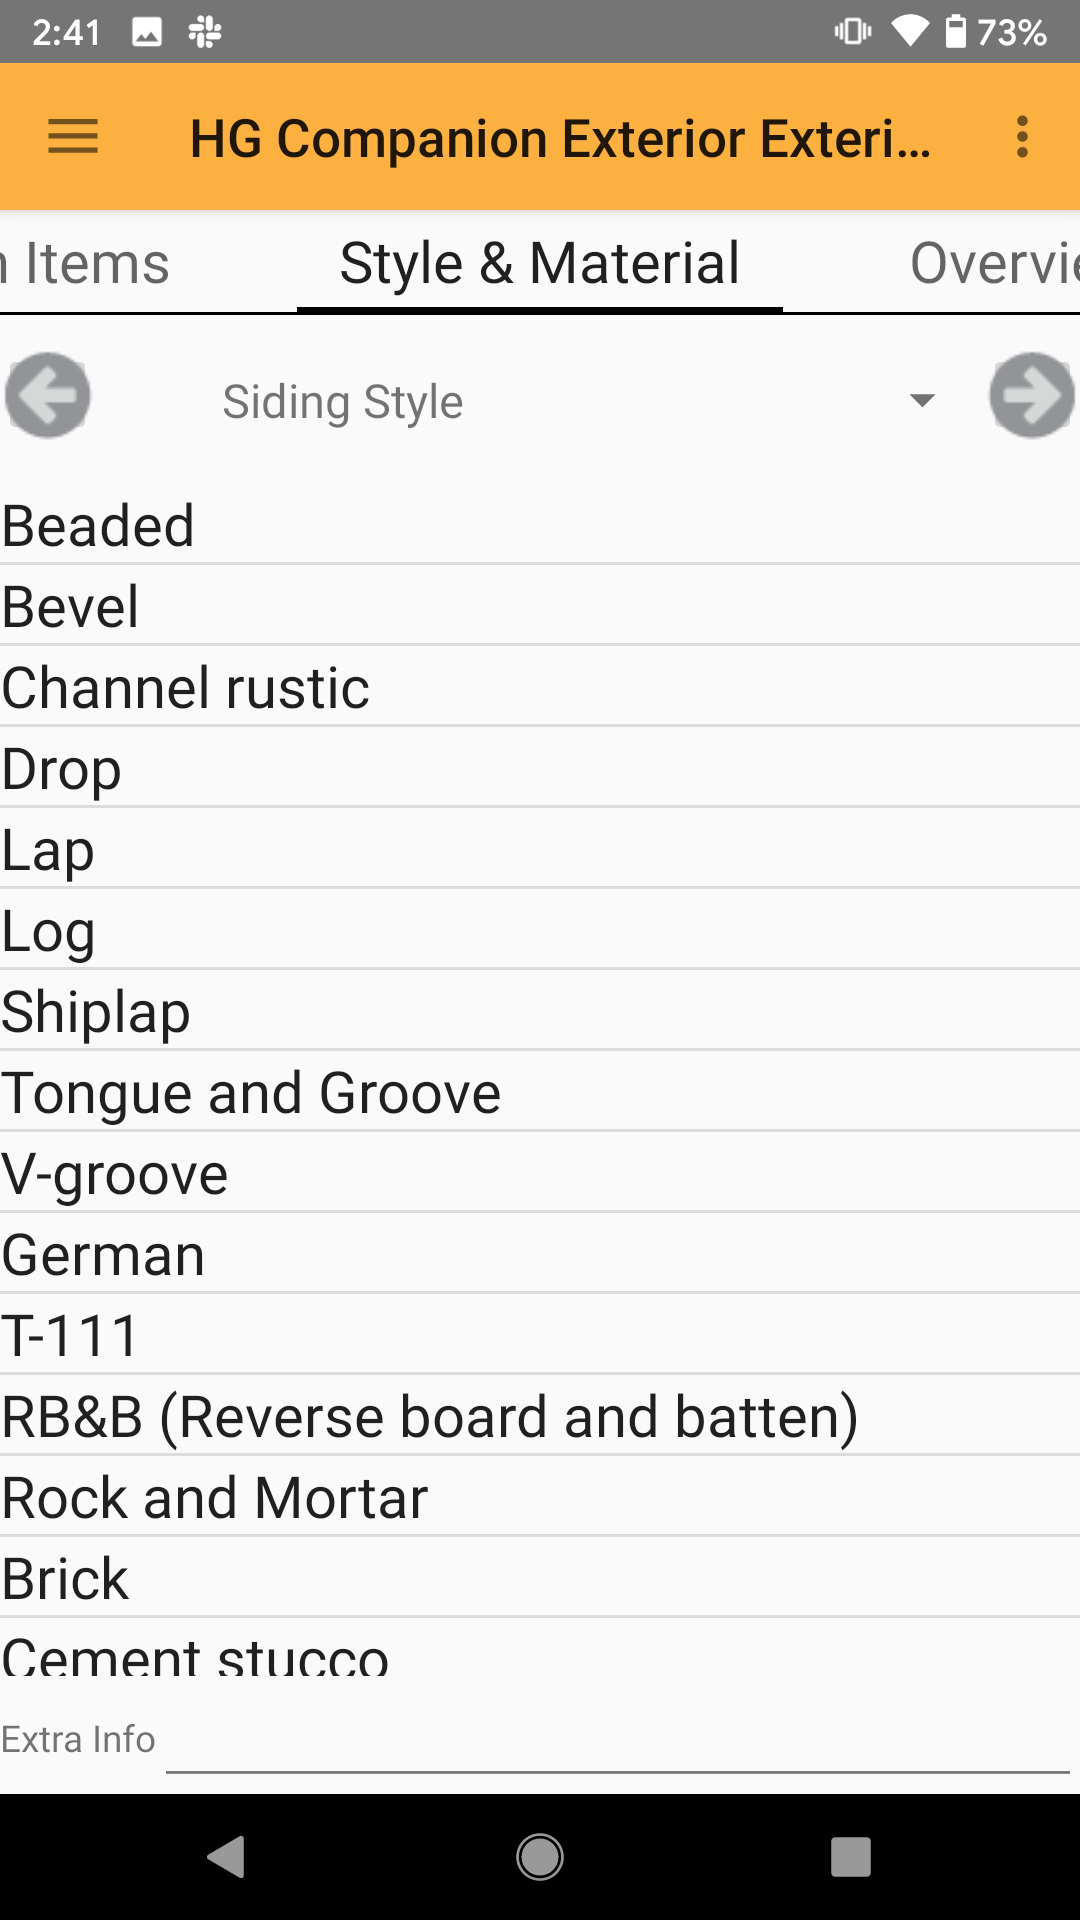
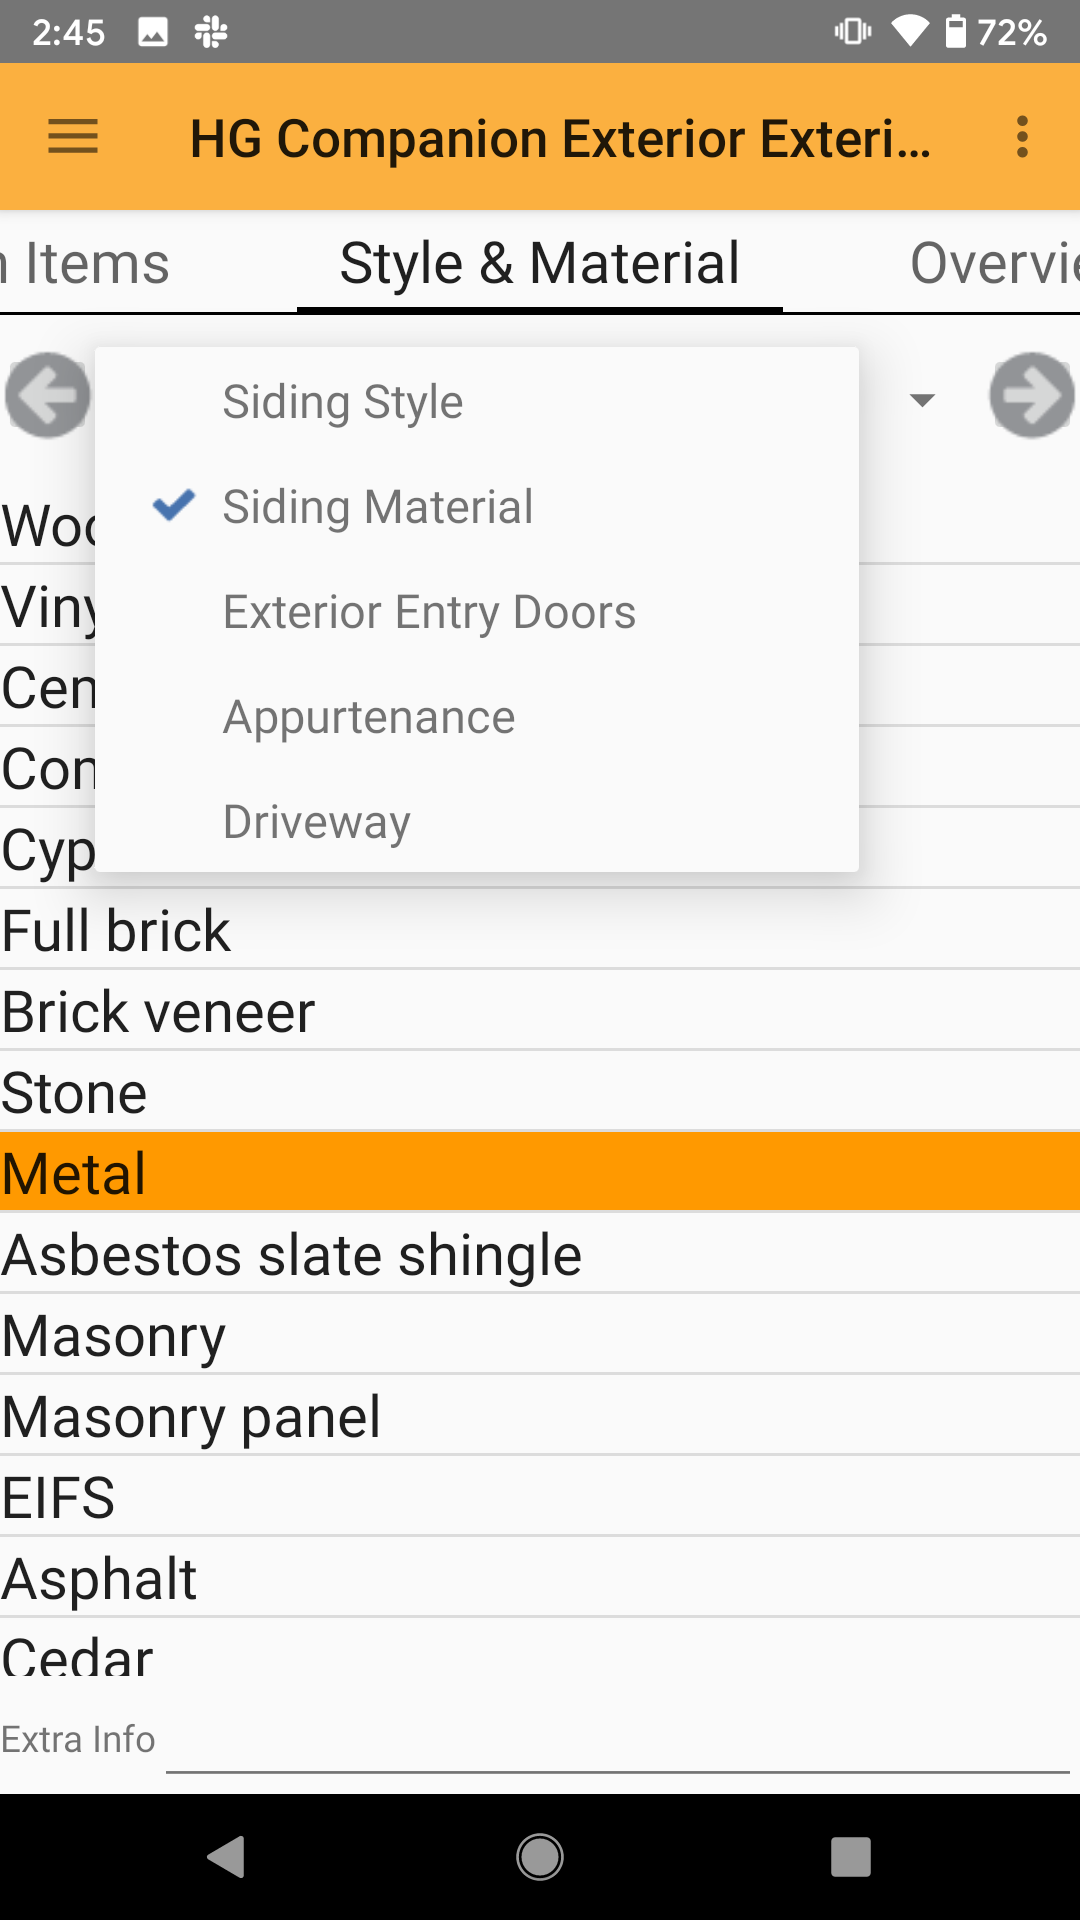
Use the left and right arrows or the drop down at the top to navigate through the styles. Click on an item to highlight a material option.
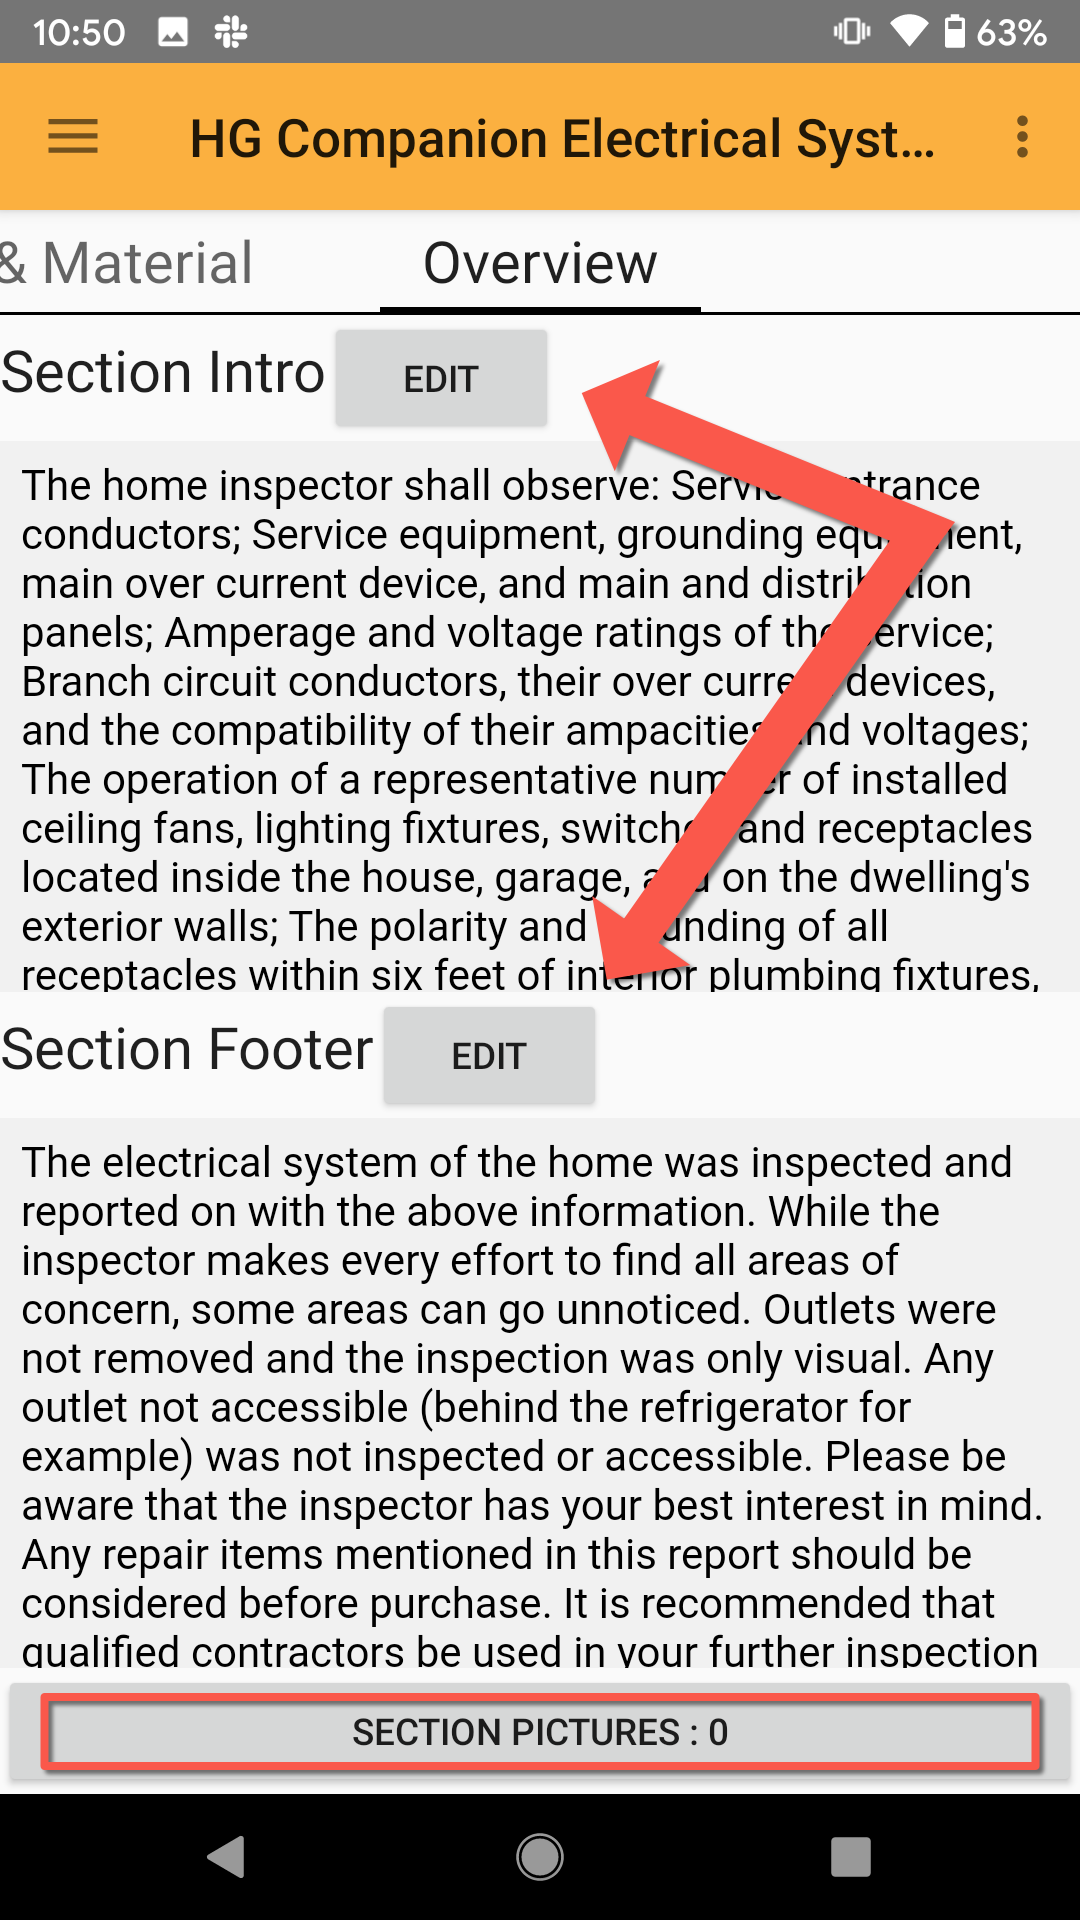
Overview
Click the Overview tab at the top to go into the section overview. You can edit the intro or footer paragraphs by clicking the Edit button. You can add section overview photos by clicking the Section Pictures button at the bottom and add a photo like normal.
Adding Media
When in the comment editing section, you can add media, such as photos and videos, to a report. Click one of the buttons below the comment box to add the media of your choice.
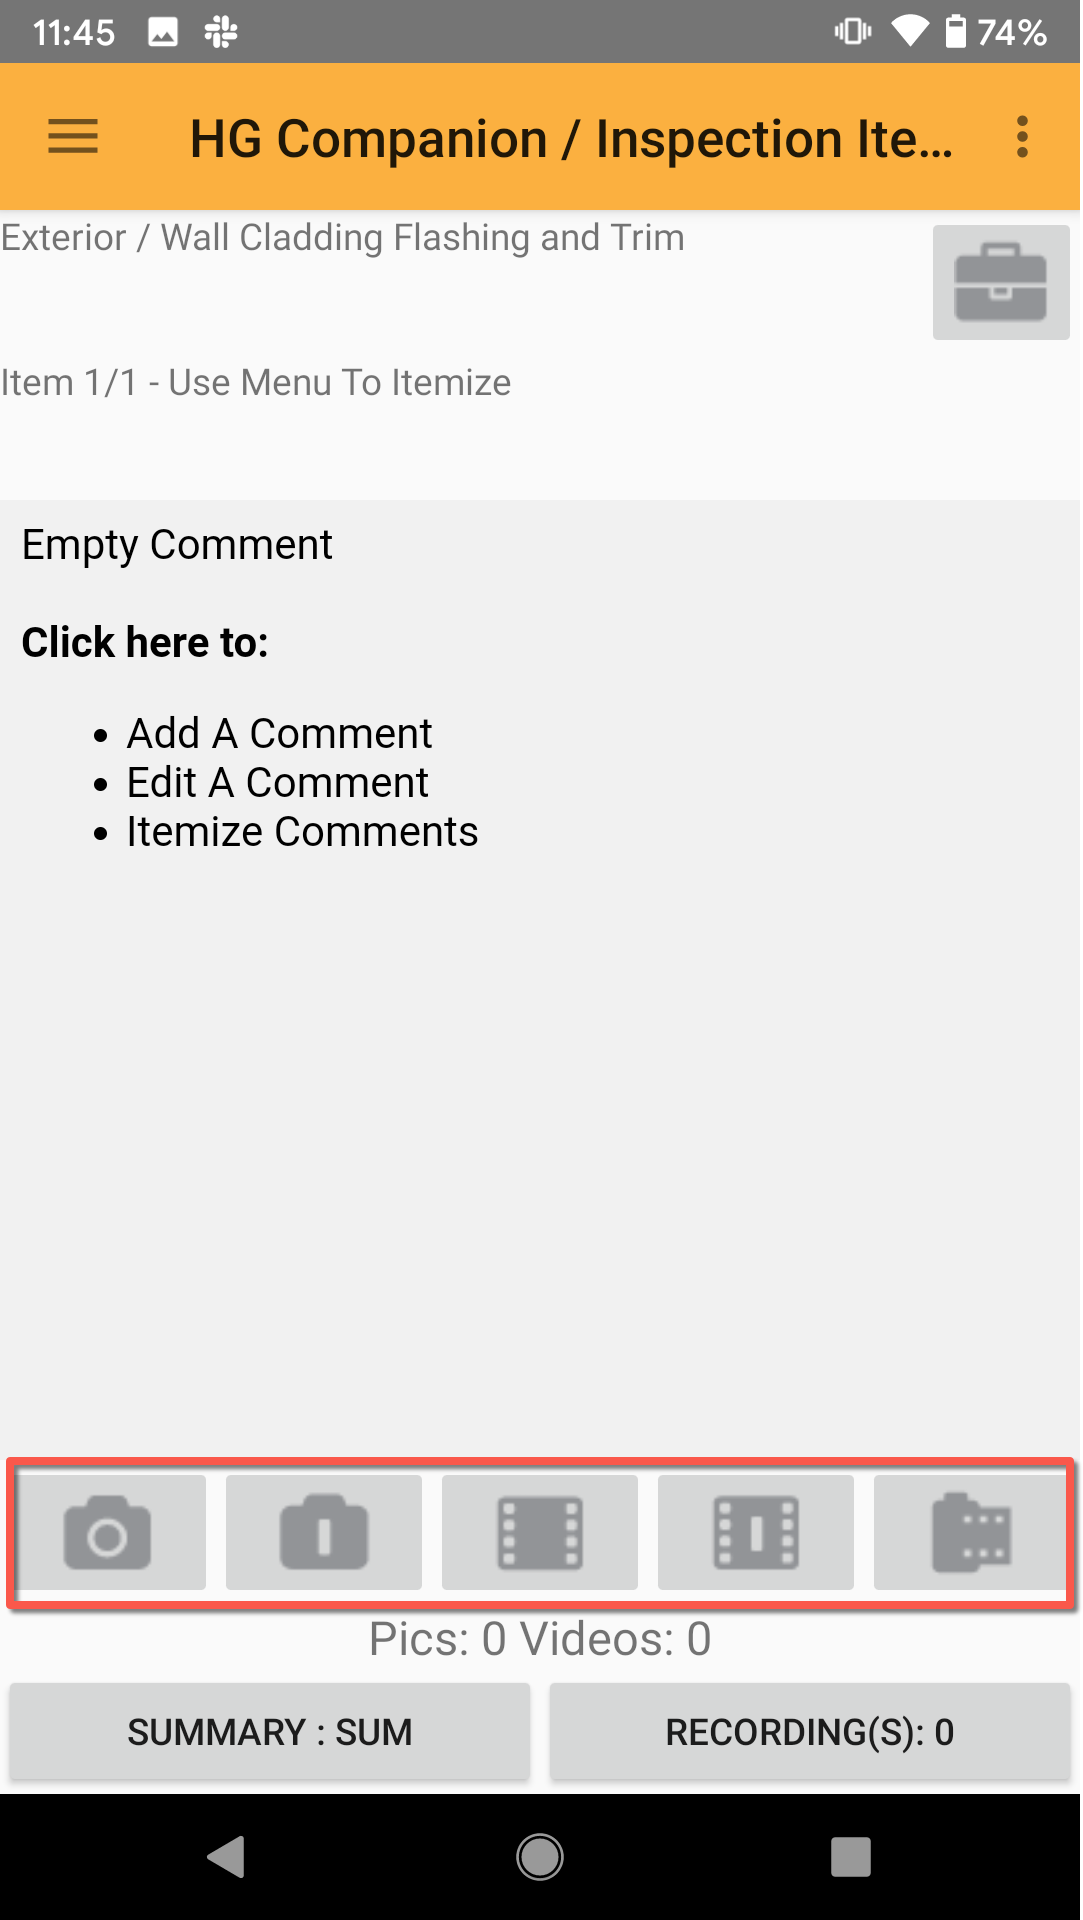
The icons from left to right are the following:
 - take a photo for the current section
 - take a photo for a new itemized section
 - take a video for the current section
 - take a video for a new itemized section
 - review added photos/videos, or add media from device
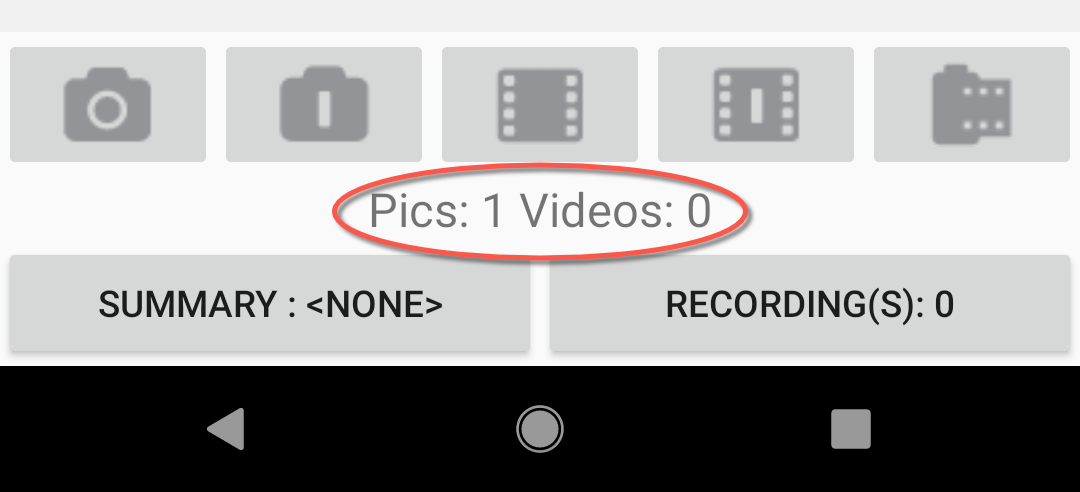
When you click the photo or video buttons, your device's camera will open, allowing you to take a photo or video. Once taken, the photo will show on the review screen. You may also see the the number at the bottom of the comment section will change to reflect the newly taken photo or video. Use this to confirm that media has be added.
Click the button on the far right (symbolized by a film canister) to go inside the review section. Here you may cycle through the photos and videos for the current itemization and review what is attached to the comment.
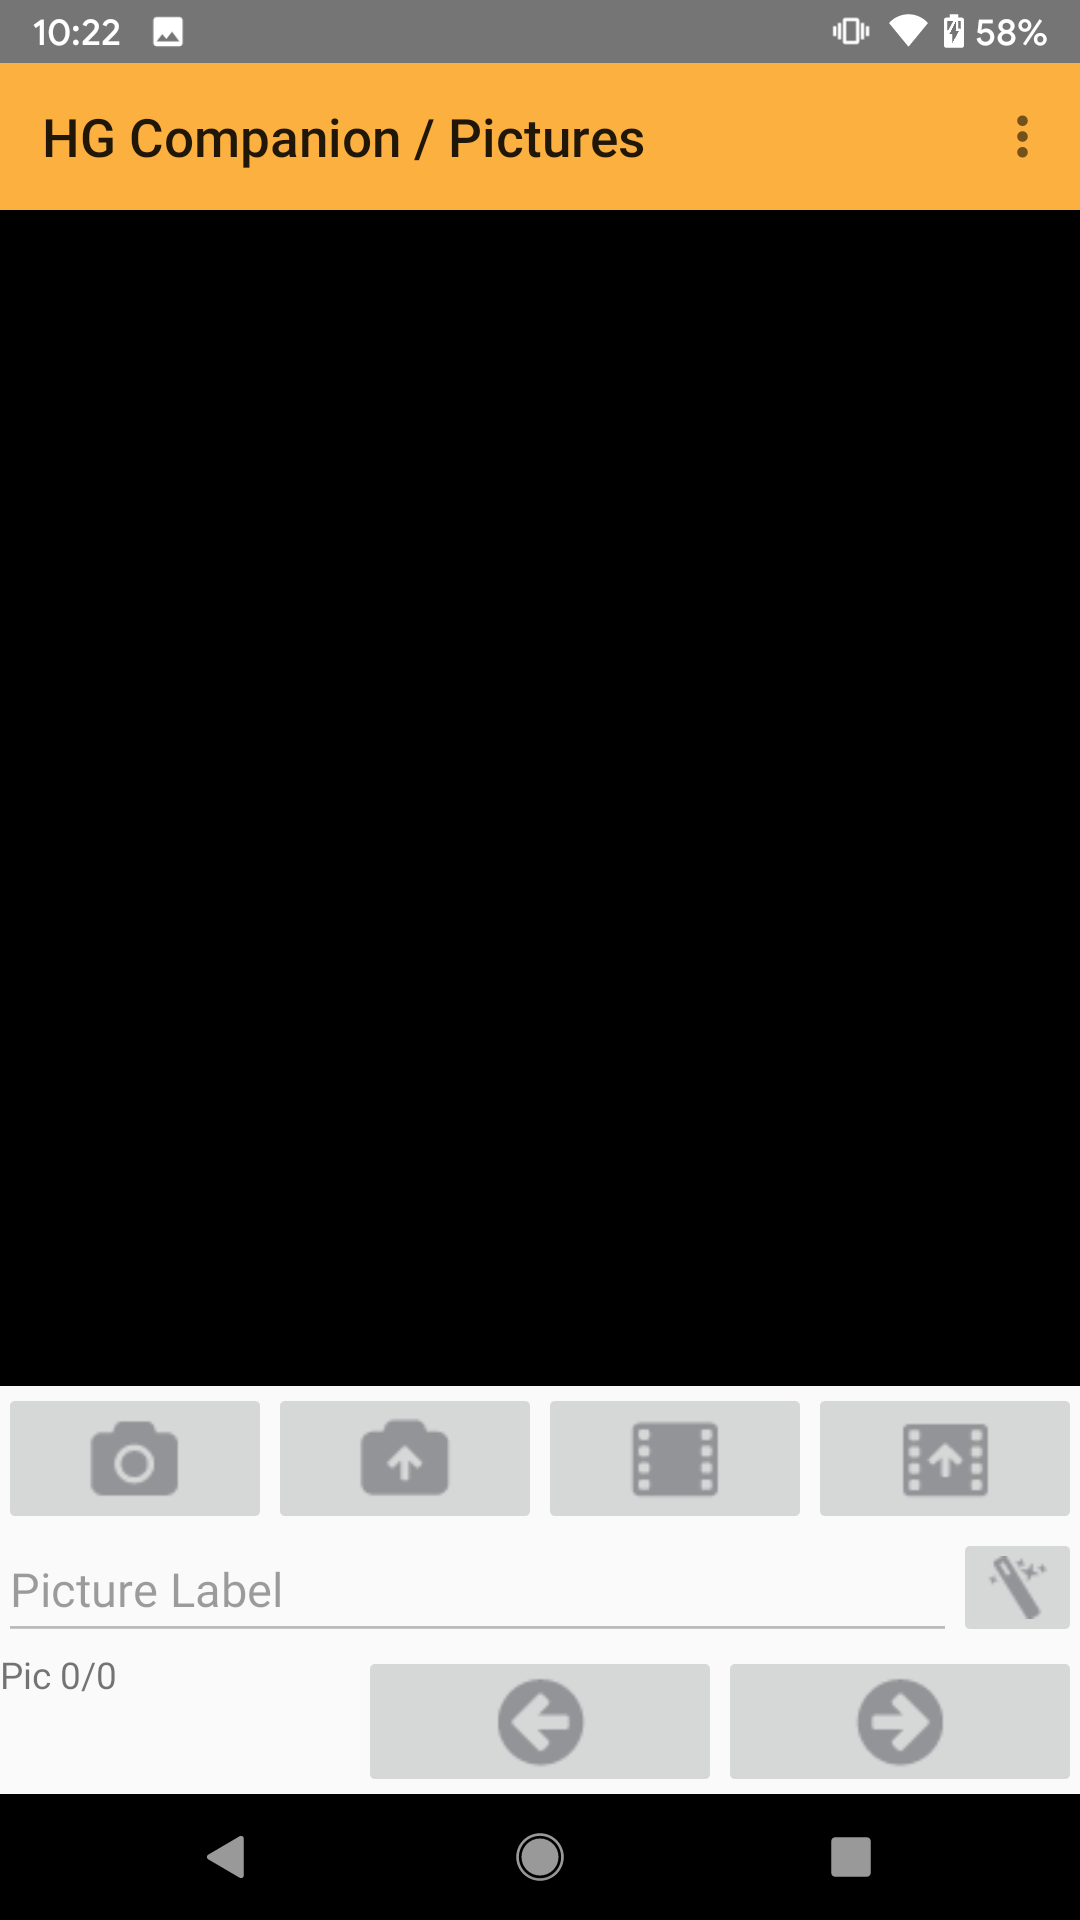
Add a picture label by clicking in the Picture Label form and typing a label. Use the camera and video buttons to snap another photo or video.
The buttons containing up arrows, ![]()
![]() , will allow you to access your device's film strip and add media taken outside of the HG Companion.
, will allow you to access your device's film strip and add media taken outside of the HG Companion.
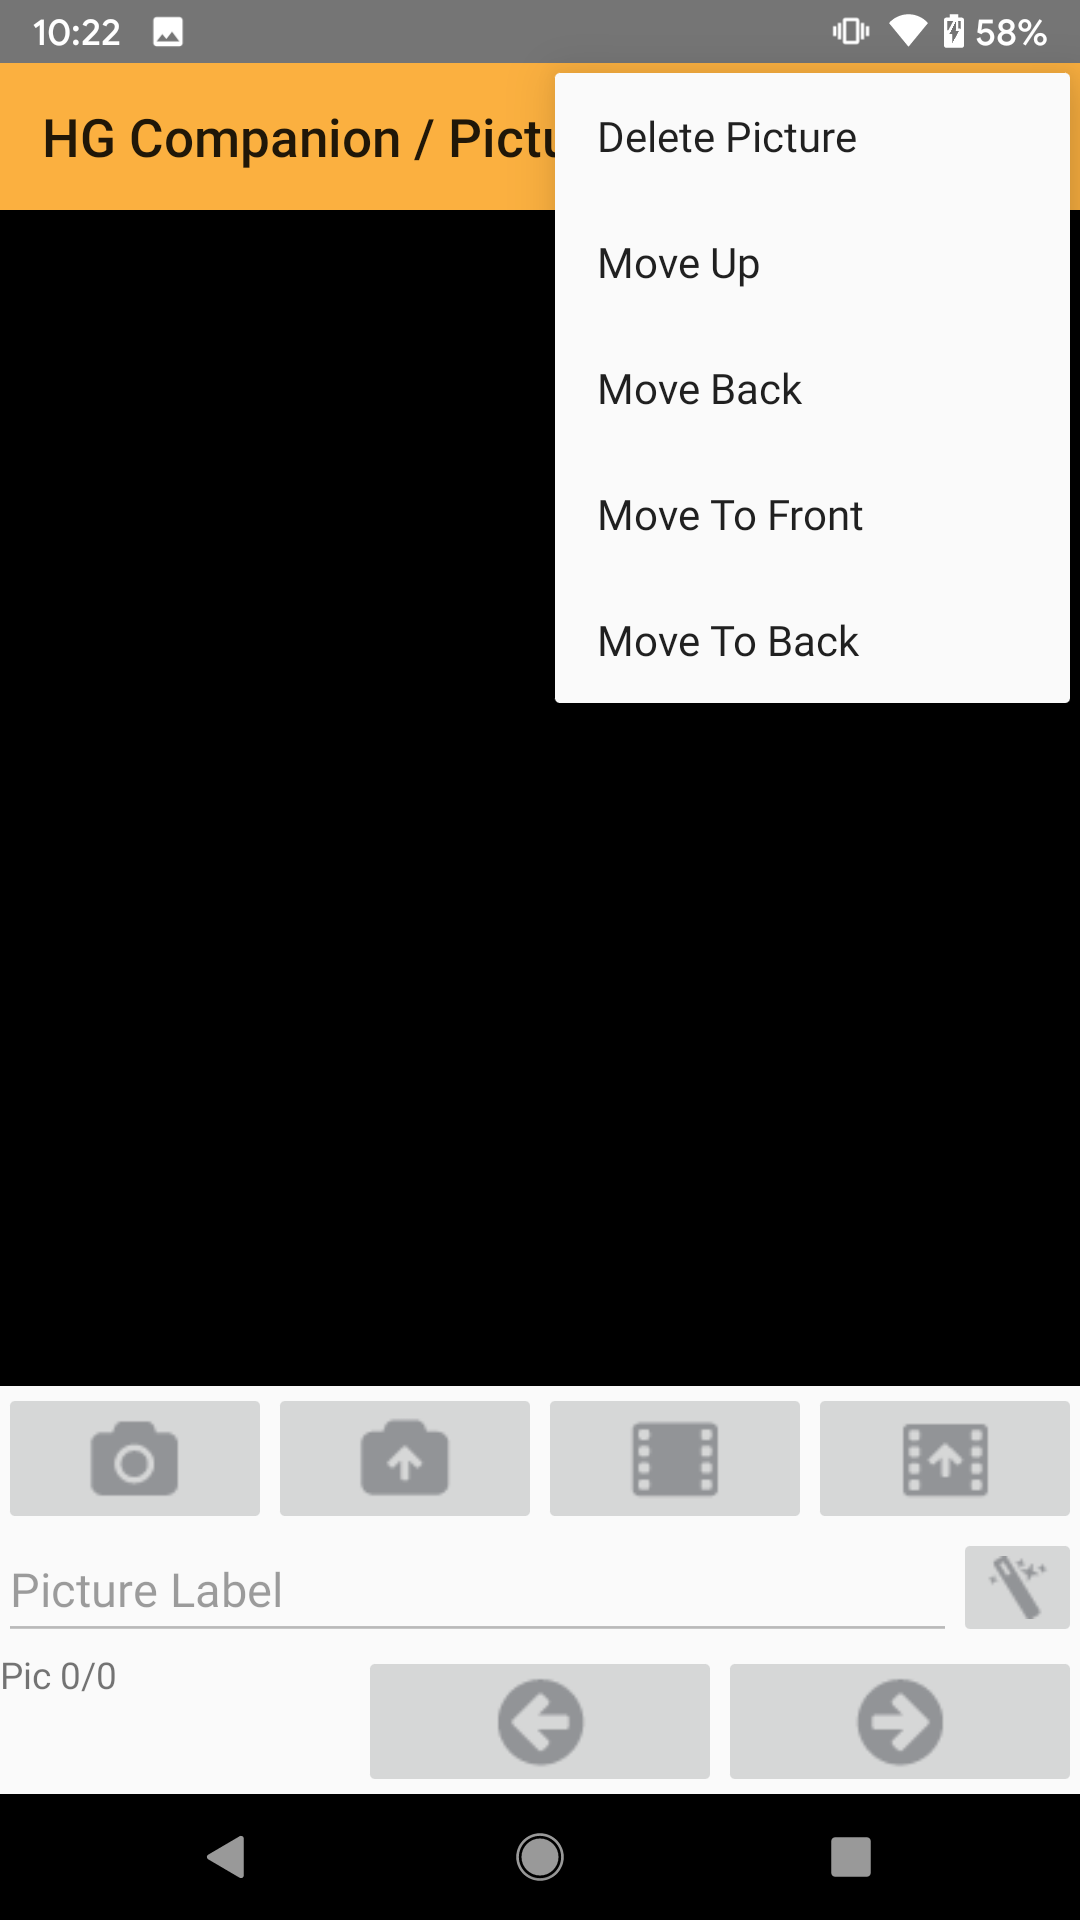
Click the button in the top right corner to delete the picture/video or change the order of the items.
Reviewing the Report
Access the Navigation Menu from the side and scroll to the bottom. Use the drop down next to the Find button to set a search criteria to find unanswered, flagged items, and more. Click Find to go the first item that matches the criteria.

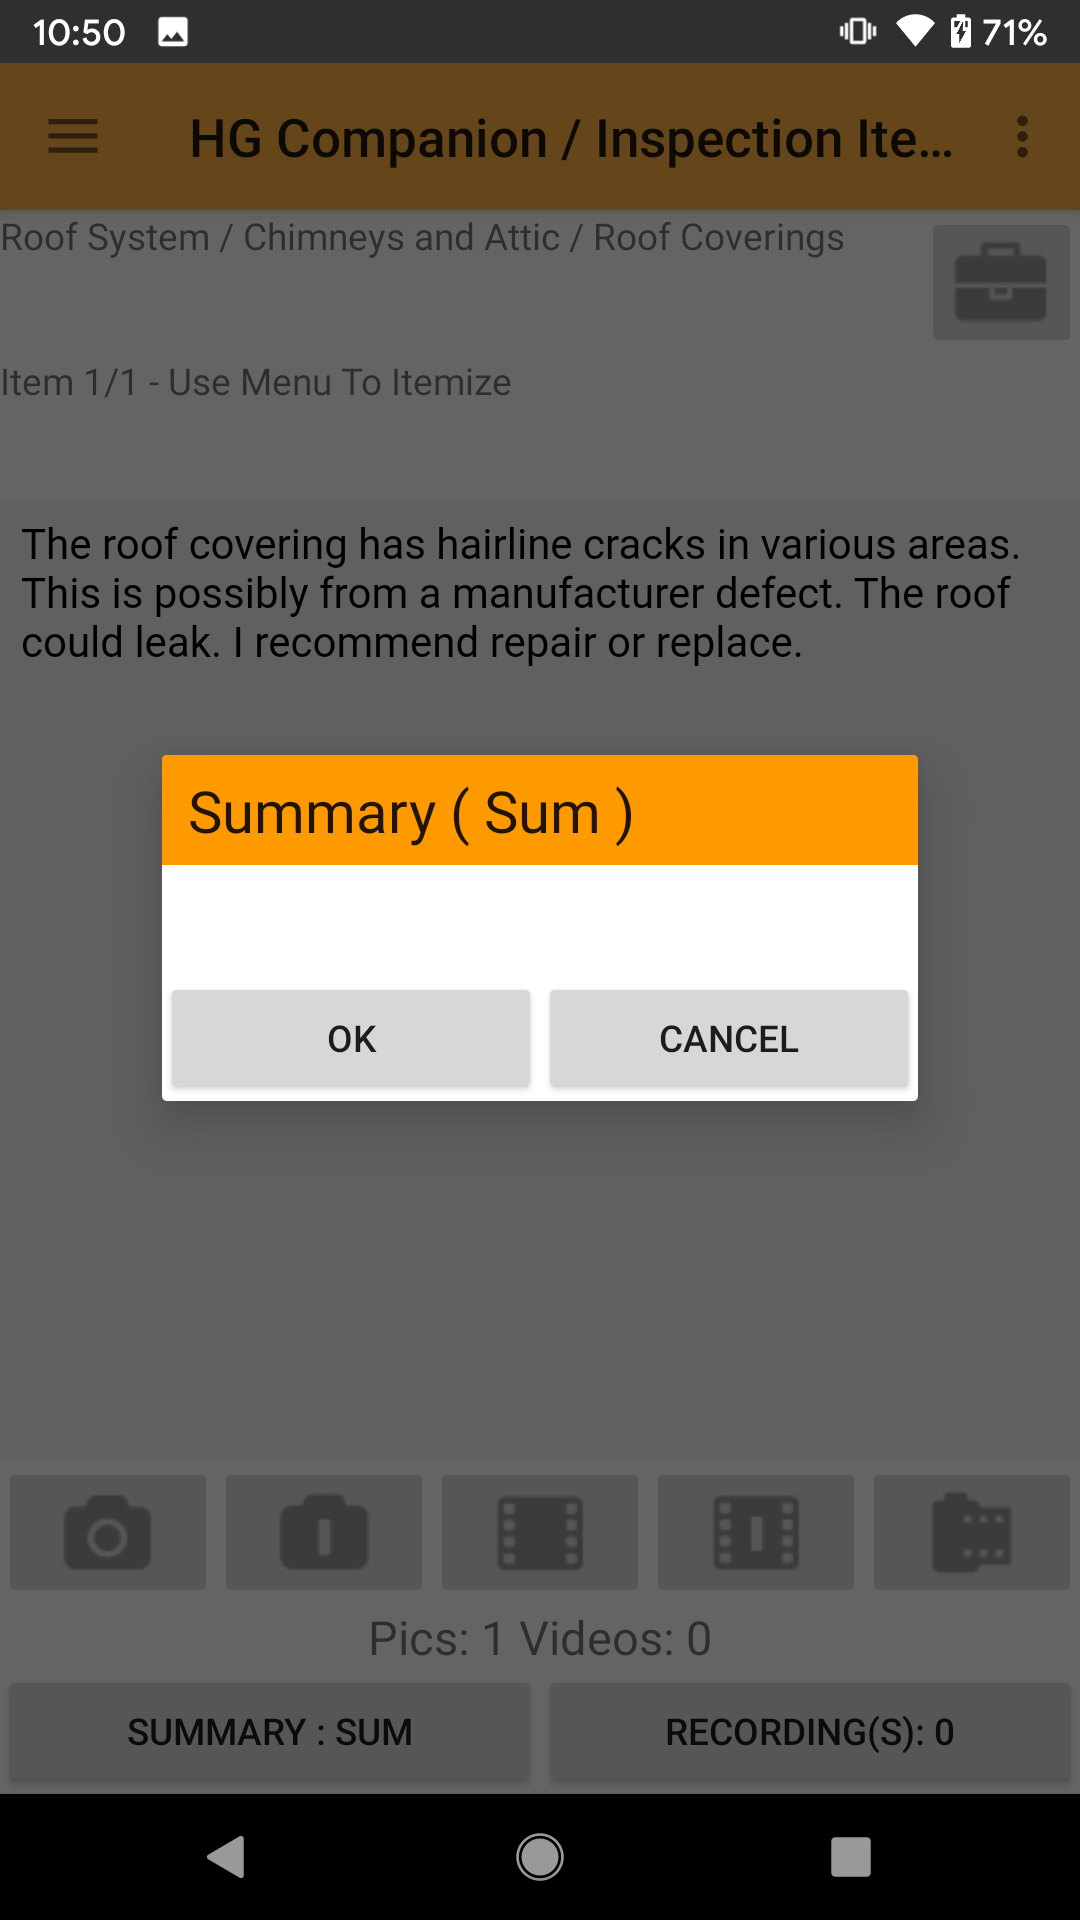
At any time during the inspection, you may add or remove an item from your summary by clicking the Summary button at the bottom of the comment section.
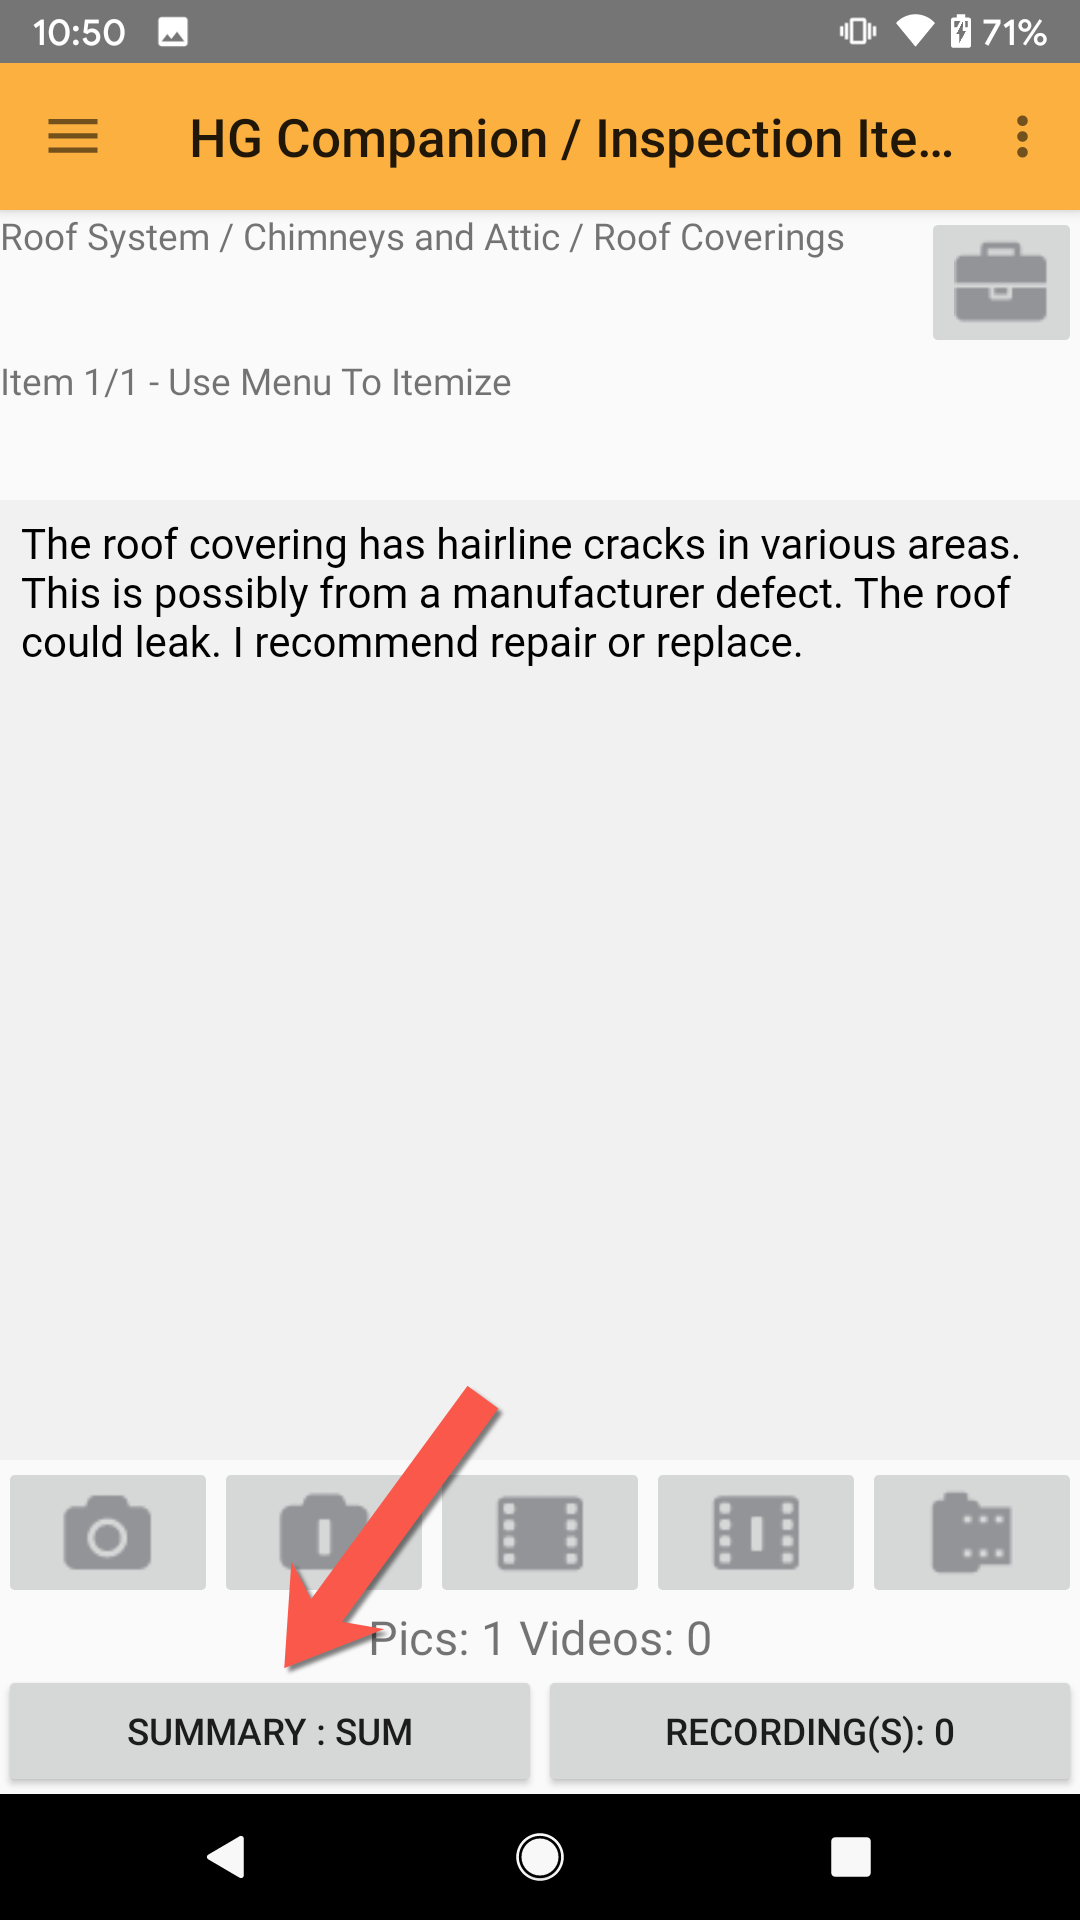
Click one of your summaries to highlight it. A summary that is highlighted indicates that the comment will go to that summary.
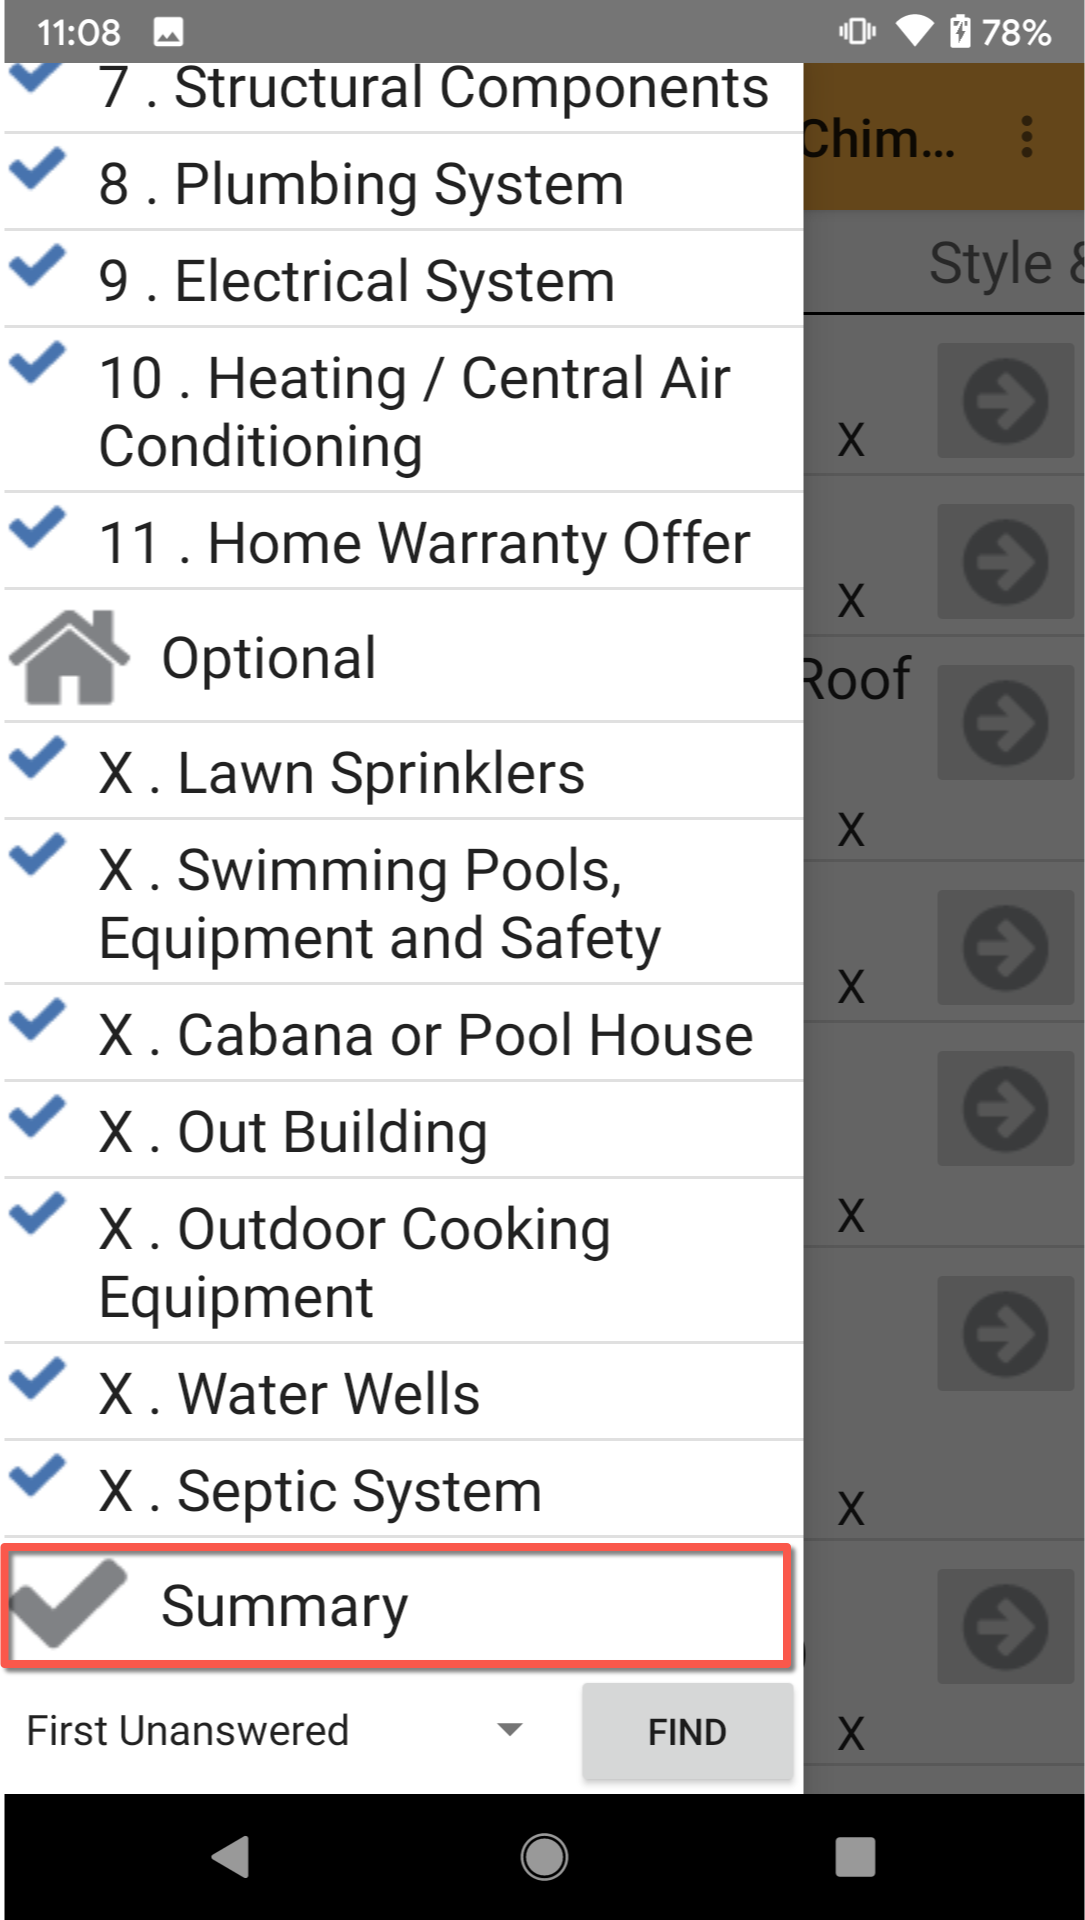
To review the summary, access the Navigation Menu, scroll to the bottom and click Summary.
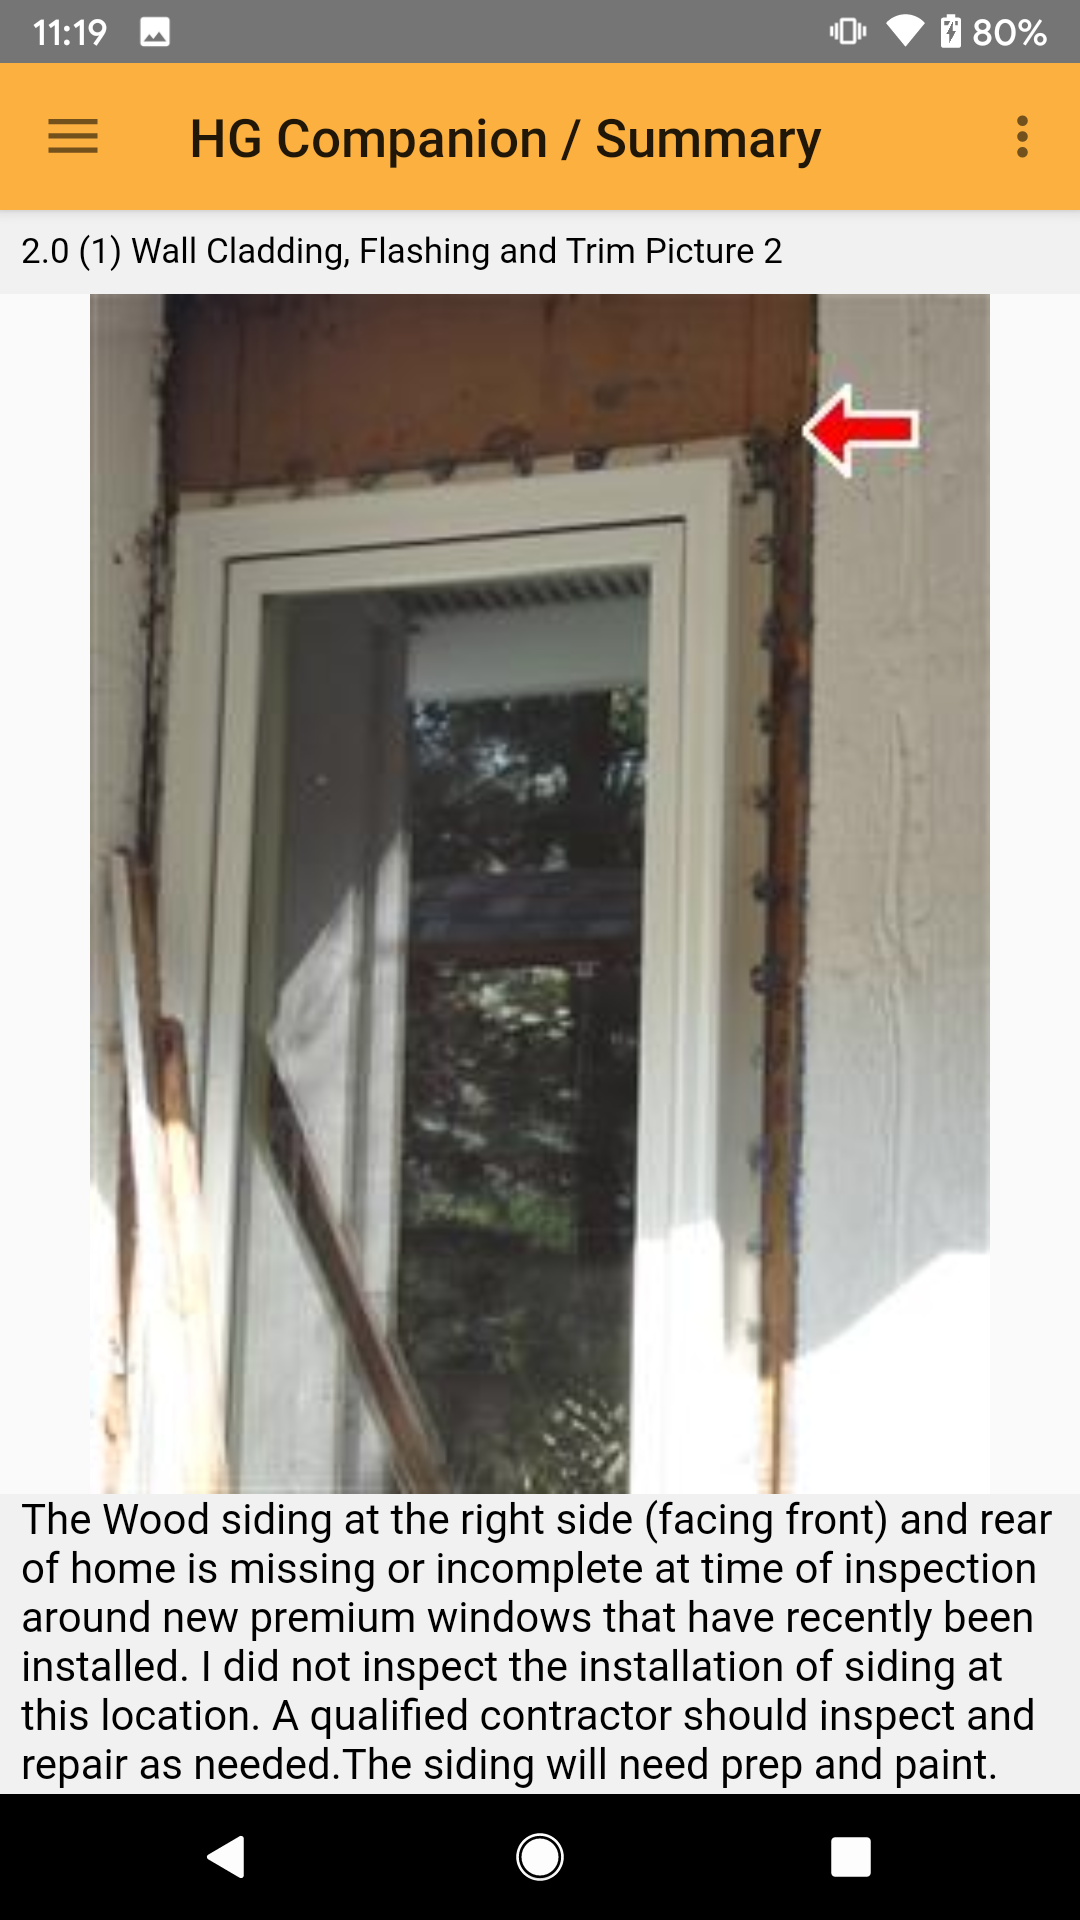
Each summary item will be shown with their accompanying photos. Swipe the screen right and left to navigate through the items. Use this feature if you want to review the major concerns with a customer at the time of inspection.
Sending Report to the Cloud
When the inspection is complete, send the report to the cloud for later retrieval onto the desktop version of HomeGauge. Click the Main Menu button > HG Services > Send Current Report to Cloud.
You may save the report and close the HG Companion.
Was this article helpful?
That’s Great!
Thank you for your feedback
Sorry! We couldn't be helpful
Thank you for your feedback
Feedback sent
We appreciate your effort and will try to fix the article